

The heavy, cast iron lid lifts to reveal a mahogany landscape of protein that looks just as glorious today as it did yesterday. We have all been there; staring at a massive hunk of Sunday dinner and wondering how to reinvent it without losing that tender, slow cooked soul. Mastering easy leftover roast beef recipes is not just about convenience. It is about the art of the second act.
When you look at that cold roast, do not see a finished product. See a structural foundation of denatured proteins and rendered collagen waiting for a hit of acid or a flash of high heat. Whether you are craving a piquant Thai salad or a viscous, wine-heavy ragu, the goal is to bypass the rubbery texture often associated with reheating. We are aiming for moisture retention and flavor amplification. By understanding the molecular structure of chilled beef, you can transform yesterday's center-piece into a week of gourmet lunches that taste nothing like leftovers.
The Gathers:
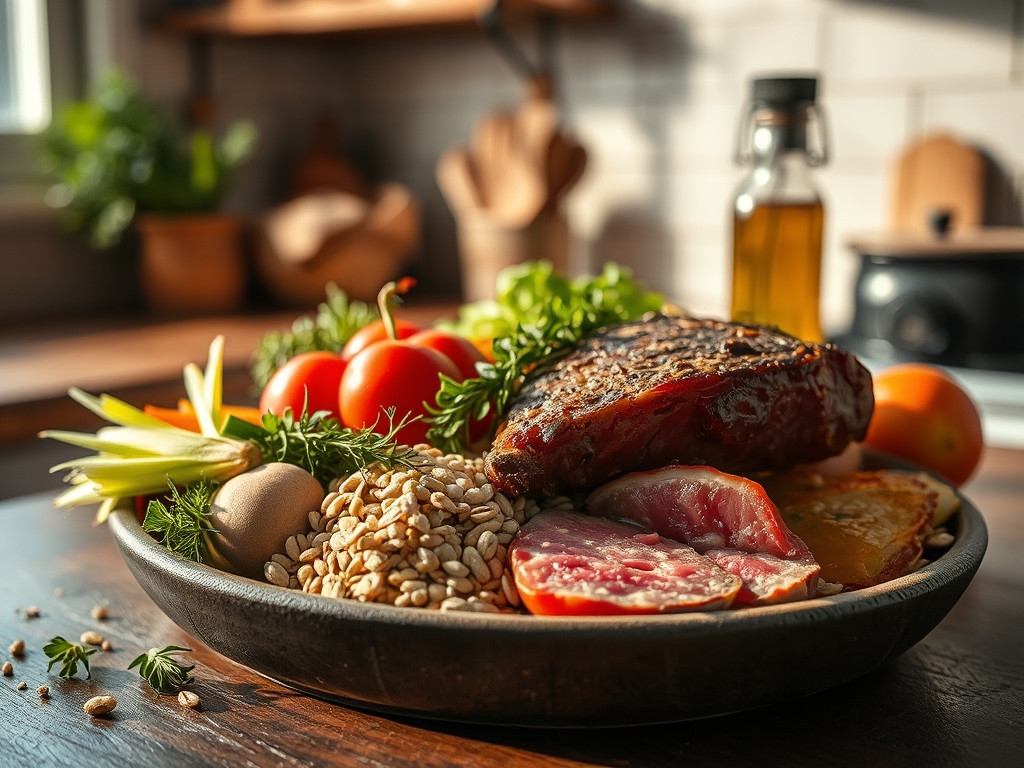
To execute these easy leftover roast beef recipes with professional precision, your mise-en-place must be intentional. Lay out your cold roast on a clean cutting board alongside a sharp chef knife. Cold beef is structurally more stable than warm beef; this allows you to achieve paper-thin slices or perfect 1-centimeter cubes without the muscle fibers fraying.
Gather your aromatics: fresh garlic cloves, shallots for a delicate piquancy, and ginger if you are heading toward an Asian profile. You will need a high-quality fat, such as unsalted grass-fed butter or avocado oil, to facilitate heat transfer. Have your saucier or heavy-bottomed skillet ready. For the liquids, keep a bottle of dry red wine or a high-sodium soy sauce nearby to deglaze the pan and capture every bit of caramelized goodness.
Smart Substitutions:
If you lack a traditional chuck roast, brisket or even thick-cut deli roast beef can work in a pinch. If you are out of fresh herbs, use a 1:3 ratio of dried herbs to fresh, but be sure to bloom them in hot oil first to release their volatile compounds. For those avoiding soy, coconut aminos provide a similar umami depth with a lower glycemic index.
The Clock
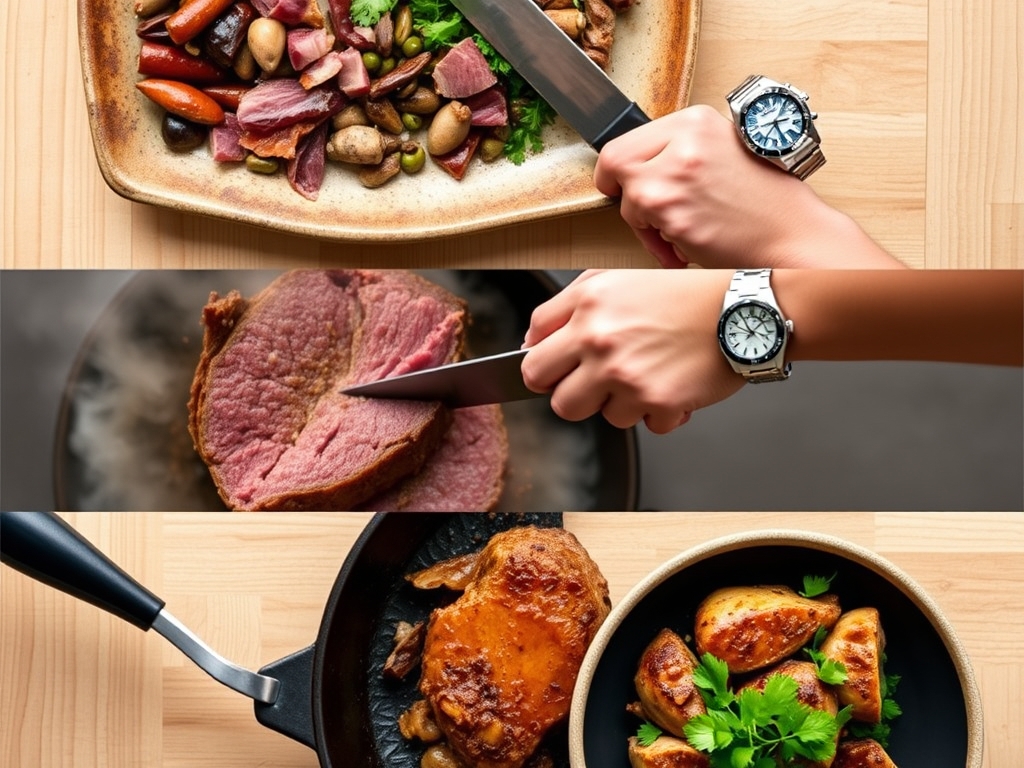
Efficiency in the kitchen relies on what professionals call "Chef's Flow." This is the logical sequencing of tasks to minimize downtime. For most of these recipes, the active prep time is approximately 15 minutes. This involves the mechanical breakdown of the beef and the dicing of aromatics.
The cook time varies by method. A quick sear for tacos takes 5 minutes, while a simmered stroganoff requires 12 to 15 minutes to allow the flavors to infuse the sauce. Total time from fridge to table should never exceed 30 minutes. The flow starts with your cold prep, moves to the pan for flavor development, and ends with a resting period to allow the internal temperature to stabilize.
The Masterclass
1. The Precision Slice
Begin by identifying the grain of the meat. Use a long, sharp blade to cut perpendicular to these fibers. This mechanically shortens the protein strands, ensuring every bite is tender rather than chewy.
Pro Tip: This is known as mechanical tenderization. By cutting against the grain, you are doing the work your teeth would otherwise have to do, which is essential for cold-stored proteins that have tightened up in the fridge.
2. The High-Heat Sear
Heat your heavy-bottomed skillet until the oil shimmers. Add your beef in a single layer. Do not crowd the pan, as this causes the meat to steam in its own moisture rather than brown.
Pro Tip: This triggers the Maillard reaction, a chemical reaction between amino acids and reducing sugars that creates that distinct, savory "browned" flavor profile.
3. Deglazing the Fond
Once the beef has developed a crust, remove it and add a splash of liquid like wine or stock. Use a bench scraper or wooden spoon to lift the browned bits from the bottom.
Pro Tip: These bits, called "fond," are concentrated pockets of umami. Incorporating them back into your sauce creates a more complex, layered flavor profile.
4. Emulsifying the Sauce
Lower the heat and whisk in a cold knob of butter or a splash of heavy cream. Stir constantly until the sauce becomes glossy and viscous.
Pro Tip: This is the process of emulsification, where fat and water-based liquids combine into a smooth suspension. It provides a luxurious mouthfeel that masks any dryness in the reheated beef.
5. The Final Infusion
Add the beef back into the sauce just long enough to reach an internal temperature of 145 degrees Fahrenheit. Overcooking at this stage will cause the proteins to contract and squeeze out remaining moisture.
Pro Tip: Use a digital scale to ensure your meat-to-sauce ratio is balanced. This prevents the beef from becoming "lost" in the liquid or, conversely, being too dry.
The Deep Dive
From a nutritional standpoint, roast beef is a powerhouse of bioavailable iron, Vitamin B12, and zinc. A standard 3-ounce serving provides roughly 25 grams of protein. Because we are using leftovers, the fat has often already been rendered, making it a lean choice for meal prep.
Dietary Swaps:
For a Keto version, serve your beef over cauliflower rice or zoodles, ensuring your sauces are thickened with heavy cream rather than flour. Gluten-Free diners should swap soy sauce for tamari and use cornstarch as a thickener. For a Vegan companion dish, you can mimic the texture of shredded beef using king oyster mushrooms or jackfruit treated with the same aromatic profile.
The Fix-It:
- The Beef is Tough: You likely overcooked it during the reheat. Fix this by slicing it thinner and simmering it briefly in a highly acidic sauce (like tomato or citrus) to break down the fibers.
- The Sauce is Broken: If your sauce looks oily and separated, whisk in a tablespoon of hot water or a splash of cream to re-establish the emulsification.
- Flavor is Flat: It needs acid. Use a microplane to zest some lemon or add a teaspoon of apple cider vinegar to brighten the heavy fats.
Meal Prep Science:
When reheating for "day-one" quality, avoid the microwave. The waves agitate water molecules violently, leading to "steamed" and rubbery meat. Instead, use a low-heat oven or a covered skillet with a tablespoon of water to create a gentle steam environment.
The Wrap-Up
Transforming a roast into ten different meals is the ultimate kitchen flex. It proves that you understand the chemistry of cooking and the value of high-quality ingredients. By focusing on the Maillard reaction, proper emulsification, and the geometry of the slice, you can turn easy leftover roast beef recipes into a rotating menu of five-star dishes. Now, grab those tongs, fire up the range, and let's turn that cold protein into something legendary!
The Kitchen Table
How do I prevent leftover beef from getting dry?
Reheat the beef slowly in a liquid, such as broth or gravy, over low heat. This process, known as braising, allows the meat to reabsorb moisture while preventing the protein fibers from tightening and squeezing out juices.
Can I freeze leftover roast beef for later use?
Yes. Wrap the beef tightly in plastic wrap and then foil to prevent freezer burn. For best results, freeze it in the sauce or gravy to provide a protective barrier against oxidation and ice crystal formation.
What is the best way to slice cold roast beef?
Always slice against the grain using a very sharp carving knife. Cold beef is firmer, making it easier to achieve thin, uniform slices which are perfect for sandwiches or salads without the meat falling apart.
How long does cooked roast beef stay safe in the fridge?
According to USDA guidelines, cooked beef should be consumed within three to four days when stored in an airtight container at or below 40 degrees Fahrenheit. Always check for off-smells or a slimy texture before cooking.