
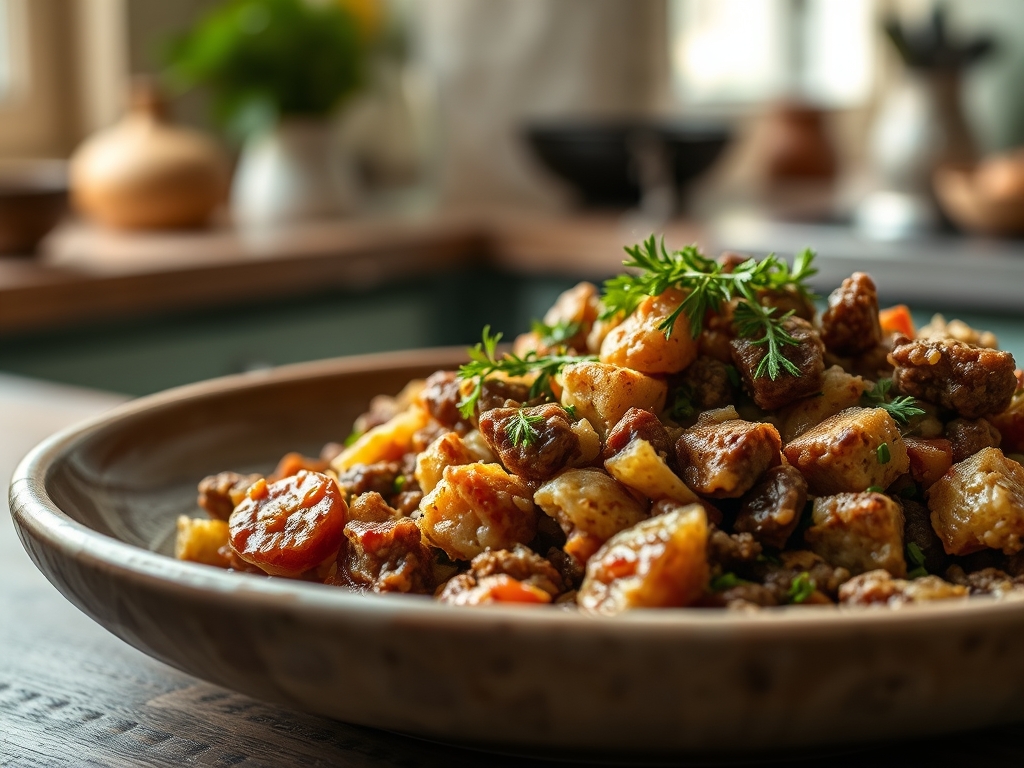
Imagine the scent of toasted sage and browned butter swirling through your kitchen as a heavy-bottomed skillet sizzles on the range. We are moving beyond the basic weeknight dinner and entering the realm of comfort food engineering. When you master stove top stuffing and ground beef recipes, you are essentially balancing the savory depth of Maillard-reacted proteins with the structural integrity of seasoned bread cubes. This is the ultimate culinary hug; it is a marriage of textures that feels like a Sunday afternoon even on a chaotic Tuesday. We are going to transform humble pantry staples into a sophisticated bake that relies on thermal physics and flavor layering to achieve perfection. By the time we are done, you will understand exactly why that box of stuffing is actually a secret weapon for moisture retention and aromatic complexity.
The Gathers:
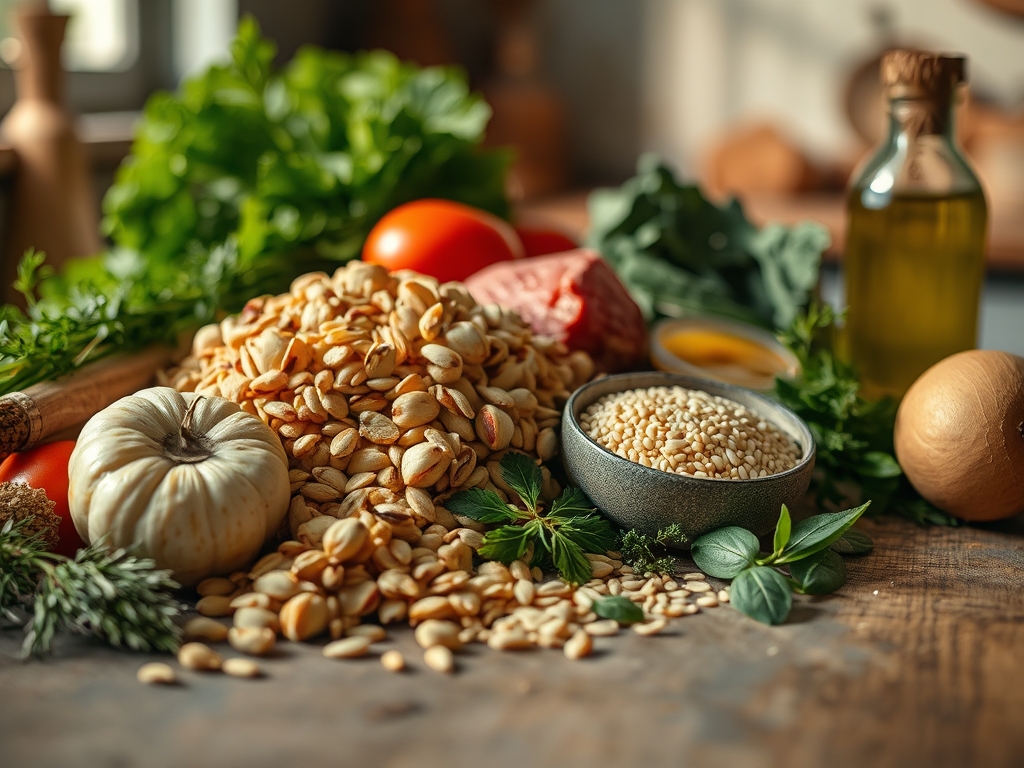
To execute these stove top stuffing and ground beef recipes with precision, your mise-en-place must be impeccable. Start with eighty-twenty ground chuck; the twenty percent fat content is non-negotiable for a moist result because it provides the lipids necessary to emulsify with the stuffing binder. You will need a standard six-ounce canister of herb-seasoned stuffing mix, which acts as our primary textural agent. For the liquid component, use a high-quality bone broth rather than water to infuse the bread cubes with collagen-rich depth.
Gather your aromatics: one large yellow onion and three cloves of garlic. Use a microplane to grate the garlic into a fine paste; this increases the surface area and ensures the pungent oils distribute evenly throughout the beef matrix. You will also need a viscous binder, such as condensed cream of mushroom or a homemade veloute, to bridge the gap between the dry stuffing and the dense meat.
Smart Substitutions:
If you are looking to lighten the profile, swap the ground chuck for ground turkey, but add a tablespoon of Worcestershire sauce to mimic the umami depth of beef. For a more piquant kick, replace the standard onion with shallots and add a teaspoon of Dijon mustard to the binder. If you find yourself without broth, a splash of dry white wine used to deglaze the pan will provide the acidity needed to cut through the richness of the fats.
The Clock:
Efficiency in the kitchen is about managing the Chef's Flow. This entire process takes approximately 45 minutes from the first chop to the final plate. Budget 10 minutes for your prep work; this includes dicing your aromatics and measuring your liquids using a digital scale for total accuracy. The active cooking phase on the stove takes about 15 minutes as you render the beef and soften the vegetables. Finally, the bake time is a swift 20 minutes at 375 degrees Fahrenheit. This specific temperature is high enough to create a crisp crust on the stuffing toppers while the interior remains succulent and tender.
The Masterclass:
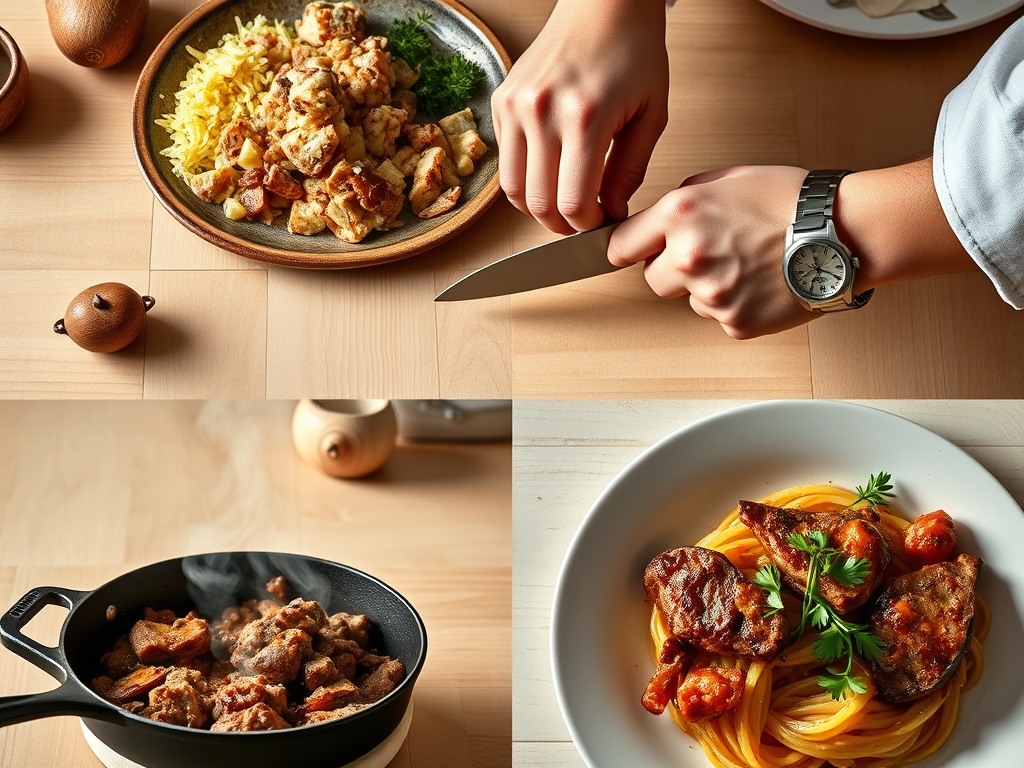
1. The Maillard Foundation
Begin by heating your heavy-bottomed skillet over medium-high heat. Add the ground beef and use a stiff spatula or a bench scraper to break the meat into small, uniform crumbles. Do not crowd the pan; you want the meat to sear, not steam. Once the beef has developed a deep brown crust, remove the excess grease, leaving just enough to coat the bottom of the pan.
Pro Tip: This browning is known as the Maillard Reaction, a chemical process where amino acids and reducing sugars rearrange to create hundreds of different flavor compounds. Skipping this step results in a gray, bland bake.
2. Sautéing the Aromatics
Lower the heat to medium and toss in your diced onions. Use a wooden spoon to scrape up the brown bits—the fond—from the bottom of the skillet. Once the onions are translucent, add the garlic paste and sauté for only thirty seconds until fragrant.
Pro Tip: Garlic contains sulfur compounds that become bitter if scorched. By adding it at the end of the sauté, you preserve its sweet, earthy profile without risking over-extraction of bitter alkaloids.
3. Creating the Viscous Binder
Stir in your condensed soup or savory sauce. Use a saucier if you are making a roux-based sauce from scratch to ensure smooth whisking. The goal is to create a thick, velvety environment that will keep the beef from drying out during the secondary cooking phase in the oven.
Pro Tip: This step relies on starch gelatinization. As the liquid heats, the starch granules swell and burst, creating a network that traps moisture and prevents the fats from separating.
4. Hydrating the Stuffing
In a separate bowl, combine the stuffing mix with half of the required broth. You want the bread to be damp but not soggy. This ensures that the stuffing can still absorb the savory juices from the beef as it bakes without turning into a flavorless paste.
Pro Tip: This is a form of controlled hydration. By pre-moistening the bread, you prevent it from acting like a sponge that robs the meat of all its internal moisture.
5. The Assembly and Bake
Transfer the beef mixture into a glass baking dish. Spread the partially hydrated stuffing evenly over the top. Use tongs to fluff the stuffing so that there are plenty of peaks and valleys to catch the dry heat of the oven. Bake until the top is golden and the edges are bubbling.
Pro Tip: Watch for thermal carryover. The internal temperature will continue to rise by about five degrees after you remove the dish from the oven. Pulling it out just as the edges bubble ensures the center remains perfectly moist.
The Deep Dive:
When we look at the macro nutrition, this dish is a powerhouse of protein and carbohydrates. A standard serving provides roughly 28 grams of protein and 35 grams of complex carbs. To make this Keto-friendly, swap the bread stuffing for a mixture of crushed pork rinds and almond flour seasoned with poultry herbs. For a Gluten-Free version, simply utilize a certified GF stuffing mix and ensure your binder is thickened with cornstarch or arrowroot rather than wheat flour.
The Fix-It:
- Soggy Stuffing: If your topping is mushy, you likely over-hydrated the bread. Fix this by switching the oven to the broil setting for the last two minutes to flash-evaporate surface moisture.
- Dry Beef: If the meat feels grainy, your binder was too thin. Next time, add a splash of heavy cream or an extra dollop of sour cream to increase the lipid content.
- Bland Flavor: If the dish lacks "pop," it needs acidity. Stir in a teaspoon of apple cider vinegar or lemon juice before baking to brighten the heavy fats.
For Meal Prep, this bake is a dream. To maintain "day-one" quality, reheat portions in an air fryer at 320 degrees. This uses convection heat to recrisp the stuffing while gently warming the beef, avoiding the rubbery texture often caused by microwave radiation.
The Wrap-Up:
You have now mastered the technical art of stove top stuffing and ground beef recipes! By understanding the science of the Maillard reaction and the importance of controlled hydration, you have elevated a pantry classic into a culinary masterpiece. This dish is versatile, reliable, and guaranteed to impress anyone sitting at your table. Now, go grab your skillet and start creating some kitchen magic; your best dinner yet is only forty-five minutes away!
The Kitchen Table:
Can I make this recipe ahead of time?
Yes. Assemble the beef and binder layer up to 24 hours in advance. Store the stuffing separately and add it just before baking to prevent the bread from becoming overly saturated and losing its structural integrity.
What is the best way to prevent greasy beef?
Always drain the rendered fat after the initial browning phase. If you want extra flavor, leave exactly one tablespoon of fat in the pan to sauté your aromatics, which provides a rich mouthfeel without the oily residue.
Can I add vegetables to the beef mixture?
Absolutely. Small-diced carrots, peas, or sautéed mushrooms work beautifully. Ensure you sauté them with the onions to remove excess water; otherwise, the extra moisture will thin your sauce and result in a runny consistency.
Why is my stuffing not getting crunchy?
The oven temperature might be too low, or the dish is positioned too low in the oven. Move the rack to the upper third of the oven to utilize the radiant heat from the top element for better browning.