
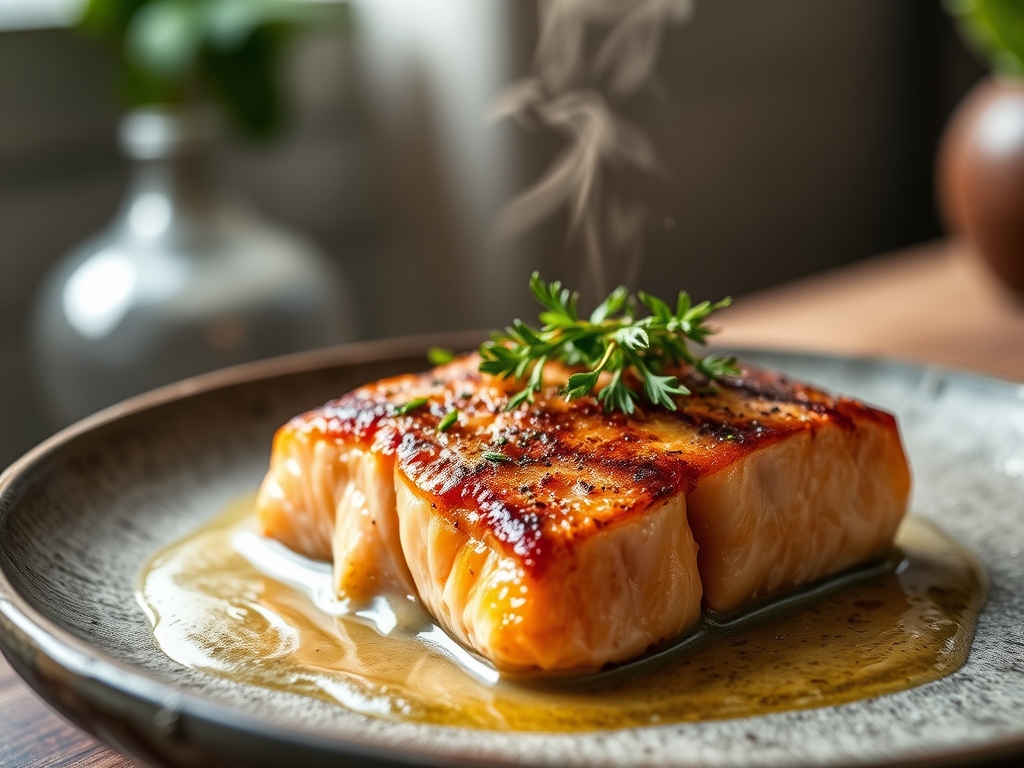
Imagine the sound of a cold fillet hitting a scorching hot heavy-bottomed skillet; that sharp, rhythmic sizzle is the music of a perfect sear. We have all been there, staring at a piece of fish and praying it does not stick to the pan or turn into a chalky mess. When you master salmon recipes ramsay style, you are not just cooking dinner; you are performing a delicate dance of heat management and moisture retention. The goal is a crust so crisp it shatters like glass, protecting a center that remains buttery, translucent, and luscious. We are moving beyond the basic weeknight bake into the realm of professional execution. By understanding the molecular structure of fish proteins and the physics of heat transfer, you will transform a simple protein into a Michelin-level masterpiece. Grab your favorite apron and a glass of wine; we are about to dive into the chemistry of the perfect bite.
The Gathers:
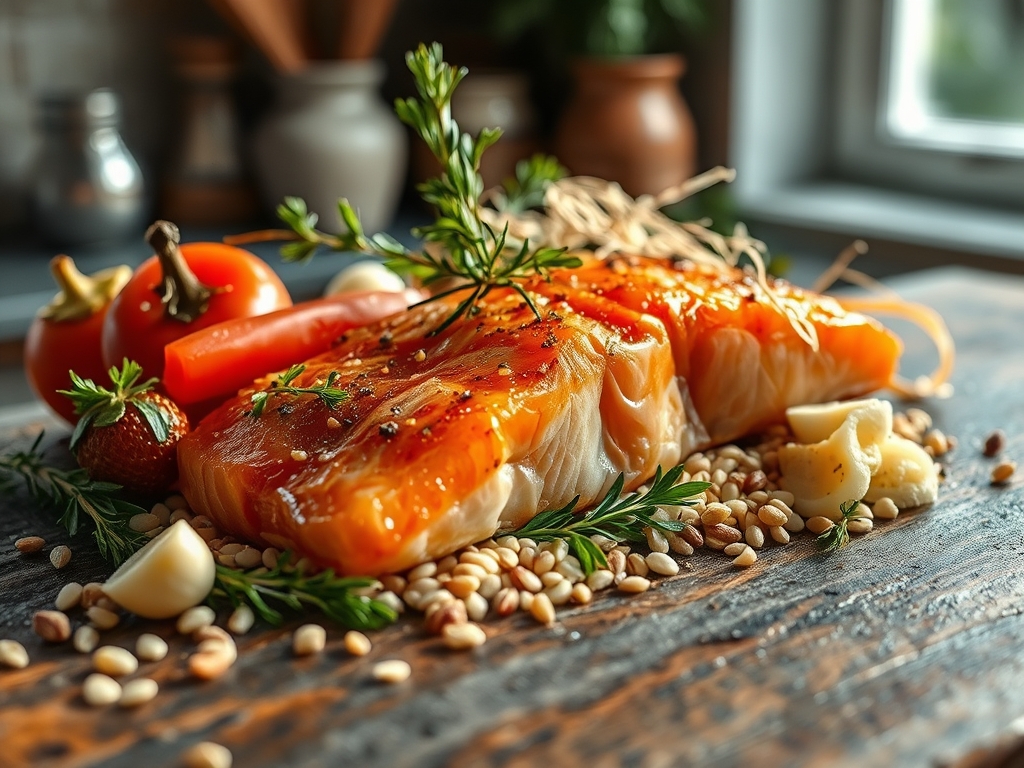
Before the flame even touches the burner, your mise-en-place must be flawless. Professional cooking is 90 percent preparation and 10 percent execution. You will need center-cut Atlantic or King salmon fillets; look for deep pigmentation and firm muscular tension. You also need high-smoke-point fats like grapeseed oil or clarified butter to ensure the pan does not reach its flash point before the crust forms. Fresh aromatics are non-negotiable; gather sprigs of woody thyme, crushed garlic cloves with the skins on to prevent burning, and unsalted European-style butter for the final baste.
Smart Substitutions: If you cannot find fresh thyme, rosemary provides a more resinous, pine-like aroma that stands up well to the fatty oils in the fish. If you are avoiding dairy, a high-quality avocado oil can replace the butter for basting, though you will lose the nutty Maillard reaction benefits of milk solids. For a piquant kick, swap the standard lemon juice for a splash of yuzu or a dusting of sumac to provide acidity without excess moisture.
The Clock
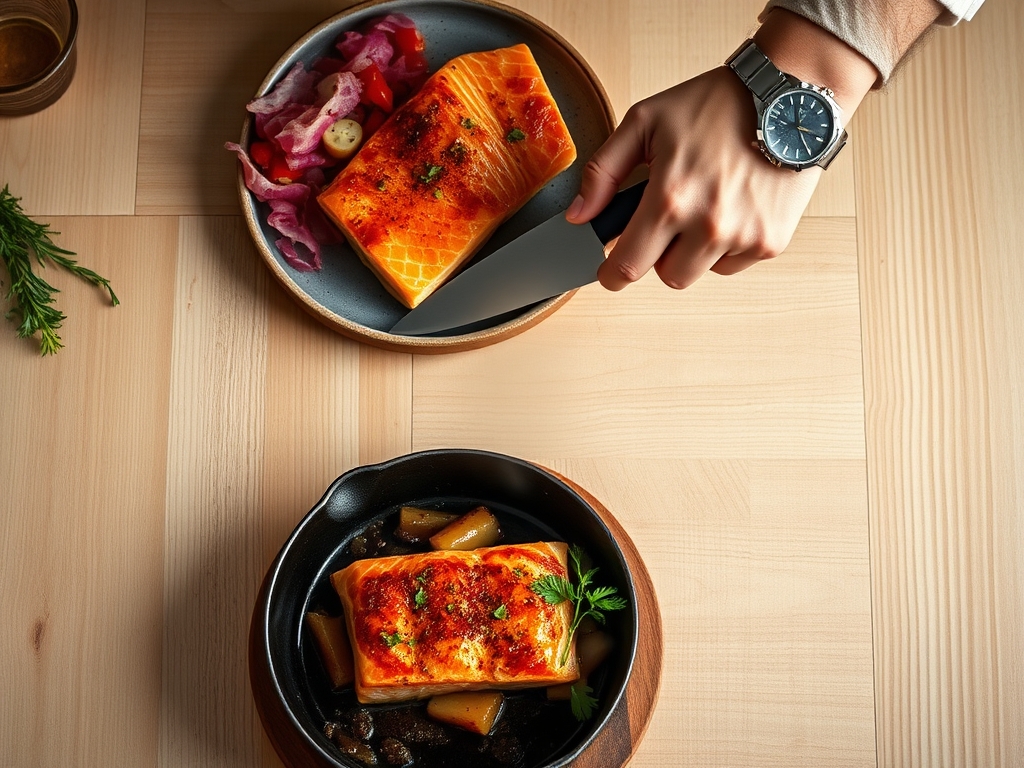
Efficiency in the kitchen is about "Chef's Flow," which is the ability to anticipate the next move before the current one finishes. Your total active prep time should be roughly 10 minutes, focusing on drying the skin and seasoning. The cooking process itself is rapid, usually taking between 6 to 8 minutes depending on the thickness of the fillet. However, the most overlooked phase is the 3-minute rest. This allows the internal temperature to stabilize and the juices to redistribute through the muscle fibers. If you cut into the fish the second it leaves the pan, the viscous fats will leak out, leaving the interior dry and lackluster.
The Masterclass
1. The Desiccation Ritual
The secret to a crisp exterior is the total absence of surface moisture. Use a paper towel to press firmly onto the skin and flesh until the paper comes away bone dry. If the skin is damp, the heat of the pan will create steam, which acts as a thermal barrier and prevents the Maillard reaction from occurring.
Pro Tip: This is known as surface desiccation. By removing water, you allow the surface temperature to rapidly exceed 300 degrees Fahrenheit, which is the threshold for enzymatic browning and flavor development.
2. The Score and Season
Using a sharp chef knife, lightly score the skin in three parallel lines. Do not cut into the flesh; just nick the surface. Season generously with kosher salt from a height to ensure even distribution. Avoid adding pepper at this stage, as the high heat of the sear will cause the piperine in the pepper to turn bitter and scorched.
Pro Tip: Scoring the skin prevents the fillet from curling as the collagen fibers contract under heat. This ensures the entire surface area of the skin maintains contact with the skillet for an even, golden crust.
3. The Cold-Start Press
Place your heavy-bottomed skillet over medium-high heat with a thin layer of oil. Once the oil begins to shimmer and reach its viscous state, lay the fish in away from you to avoid splashes. Immediately use a flexible fish spatula to press down on the fillet for 30 seconds.
Pro Tip: This manual pressure counteracts thermal shock. When the cold protein hits the hot metal, it naturally wants to buckle; pressing it flat ensures the skin renders its fat efficiently and becomes incredibly crisp.
4. The Rendering Phase
Leave the fish alone. Resist the urge to poke or move it. You want to cook the salmon about 80 percent of the way on the skin side. Watch the side of the fillet; you will see the color change from translucent pink to opaque white creeping up the side of the fish.
Pro Tip: This is conductive heating. By keeping the skin side down for the majority of the time, the skin acts as a heat shield, gently poaching the delicate flesh above it in its own rendered fats.
5. The Butter Baste Finish
Flip the fish gently using tongs. Add a knob of butter, crushed garlic, and thyme to the pan. As the butter foams, tilt the pan and use a large spoon to continuously bathe the skin with the hot, flavored fat. This adds a layer of nutty complexity and ensures the interior reaches a perfect medium-rare.
Pro Tip: This technique, called arrosé, utilizes thermal carryover. The hot butter finishes the cooking process gently while infusing the aromatics directly into the protein structure.
The Deep Dive
From a nutritional standpoint, salmon is a powerhouse of Omega-3 fatty acids and high-quality protein. A standard 6-ounce fillet contains roughly 34 grams of protein and 18 grams of healthy fats. For those on specific diets, this preparation is naturally Keto and Gluten-Free. If you are following a Vegan protocol, you can apply these same searing techniques to thick slabs of "King Oyster" mushrooms or firm tofu, using a miso-glaze to replicate the savory depth of the fish.
The Fix-It:
- The Skin is Soggy: You likely moved the fish too early or the pan wasn't hot enough. Next time, wait for the oil to "whisper" smoke before adding the fish.
- The Fish is Sticking: This happens when the proteins haven't fully denatured and released from the metal. Wait another 30 seconds; the fish will naturally "release" itself once the crust is formed.
- White Gunk Oozing Out: This is albumin, a protein that escapes when the fish is cooked too fast or too long. Lower your heat slightly and pull the fish off the heat 5 degrees before your target temperature.
Meal Prep Magic: To reheat salmon without it turning into a rubber ball, avoid the microwave. Use a low oven (275 degrees) with a splash of water in the pan covered by foil. This creates a gentle steam chamber that rehydrates the fats without tightening the protein fibers.
The Wrap-Up
Mastering salmon recipes ramsay style is a rite of passage for any home cook looking to elevate their game. It is about respecting the ingredient and understanding the physics of the pan. When you see that golden, shattered-glass skin and the tender, flaking interior, you will know you have transitioned from a follower of recipes to a master of technique. Cooking is an art, but great cooking is a science. Now, get into that kitchen and show that skillet who is boss!
The Kitchen Table
How do I know when the salmon is done?
The most reliable method is using a digital thermometer. Aim for an internal temperature of 125 degrees Fahrenheit for a perfect medium-rare. The fish should feel firm to the touch but still have a slight "give" in the center.
Why does my salmon skin always stick to the pan?
Sticking usually occurs because the pan was not hot enough or the skin was still damp. Ensure you use a high-smoke-point oil and wait for it to shimmer before adding the fish; then, leave it undisturbed to sear properly.
Can I use frozen salmon for these recipes?
Yes, but you must thaw it completely in the refrigerator and pat it extremely dry. Frozen fish often contains more internal moisture; so, you may need to sear it slightly longer to achieve the same level of skin crispness.
What is the best pan for searing salmon?
A heavy-bottomed stainless steel skillet or a well-seasoned cast iron pan is ideal. These materials retain heat exceptionally well, ensuring the temperature does not drop significantly when the cold fish is added to the pan.