
Picture a heavy-bottomed skillet shimmering with a thin veil of neutral oil. As you drop the protein in, the immediate hiss isn't just noise; it is the sound of water evaporating to make way for the golden, nutty crust of the Maillard reaction. Mastering chopped chicken recipes is the ultimate culinary shortcut to high-protein, flavor-dense meals that fit into a chaotic schedule.
Most people treat small-cut poultry as an afterthought, but we are going to treat it like the versatile powerhouse it truly is. Whether you are folding it into a piquant buffalo wrap or tossing it with a viscous, honey-garlic glaze, the key lies in the surface area. More edges mean more browning, more seasoning contact, and more opportunities for that perfect, savory bite. We are moving beyond the dry, rubbery cubes of the past. Today, we are focusing on precision, moisture retention, and the scientific hacks that turn a humble bird into a gourmet foundation. Grab your bench scraper and your favorite chef's knife; we are about to transform your meal prep game forever.
The Gathers:
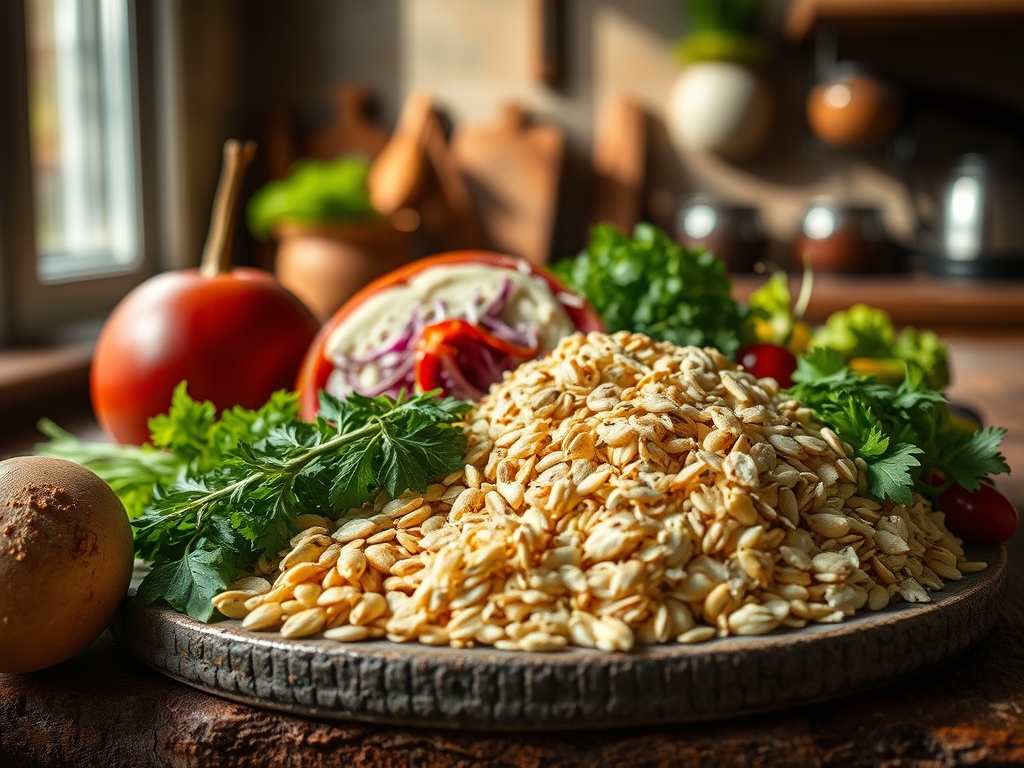
To execute these chopped chicken recipes with professional flair, your mise-en-place must be immaculate. Start with high-quality chicken breasts or thighs, patted bone-dry with paper towels. Moisture is the enemy of browning; if the surface is wet, the meat will steam rather than sear. You will need a digital scale to ensure uniform portioning, especially if you are tracking macros.
Your flavor pantry should include aromatics like garlic and ginger, which contain volatile oils that infuse the cooking fat. For the sauces, keep a high-quality olive oil, a bright acid like rice vinegar or lemon juice, and a thickener like cornstarch or arrowroot powder. The science of a great sauce relies on creating a stable emulsion where fats and liquids bind together.
Smart Substitutions:
If you are looking to pivot, you can swap chicken for firm tofu or tempeh. To mimic the fibrous texture of poultry, freeze and thaw your tofu twice before chopping. This creates microscopic ice crystals that leave behind "meat-like" pockets. For a richer profile, swap breast meat for thighs. The higher intramuscular fat content provides a more forgiving window for thermal carryover, ensuring the meat stays succulent even if you overshoot the temperature slightly.
The Clock:
Efficiency in the kitchen is all about the "Chef's Flow." This isn't just about moving fast; it is about logical sequencing. Total active prep time for these chopped chicken recipes usually clocks in at 15 minutes, with a cook time of 8 to 12 minutes depending on the size of your dice.
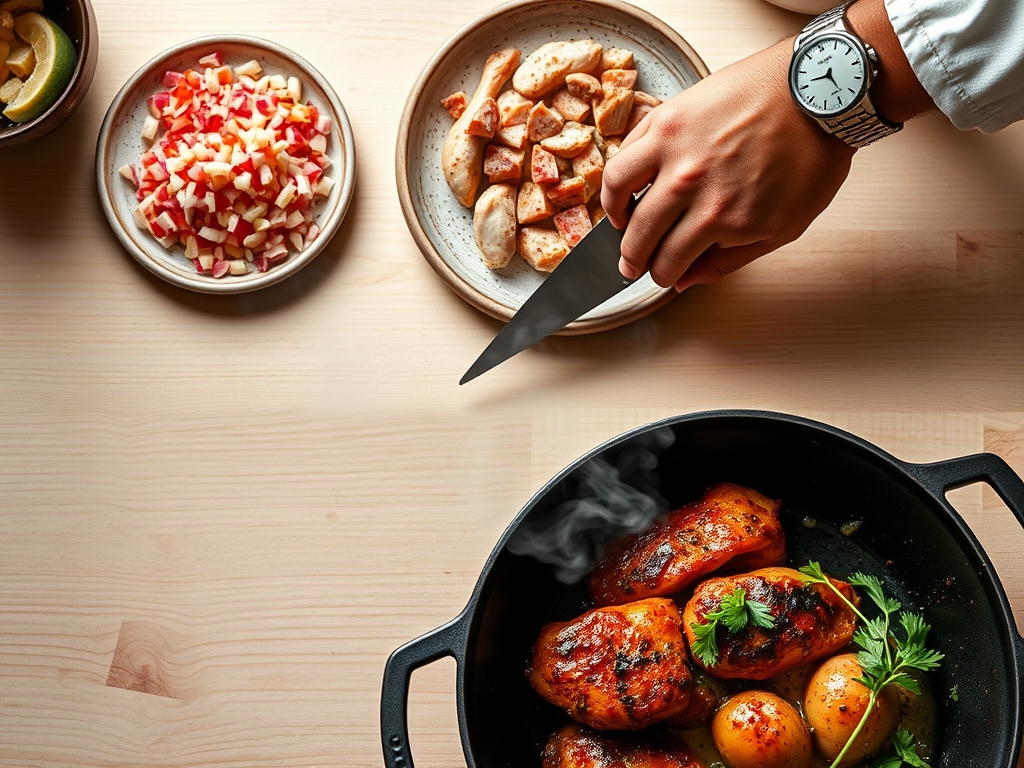
The flow begins with your "dry work." Chop all vegetables and aromatics first to keep your cutting board uncontaminated. Only then do you move to the "wet work" of dicing the protein. While the chicken rests after chopping, use that five-minute window to whisk your sauces or boil water for grains. By the time the skillet is at the smoke point, every component is ready for its high-heat debut. This prevents the "stalling" effect where your pan cools down because you are still peeling garlic while the meat is already searing.
The Masterclass:
1. The Precision Dice
Using a sharp chef's knife, slice the chicken into uniform half-inch cubes. Uniformity is not just for aesthetics; it ensures every piece reaches the target internal temperature of 165 degrees Fahrenheit at exactly the same moment.
Pro Tip: Use a bench scraper to transfer the meat to the pan. This prevents the edge of your knife from dulling against the board and keeps the protein structure intact.
2. The Dry Brine
Sprinkle the chopped meat with kosher salt and let it sit for ten minutes. This process, known as denaturation, allows the salt to penetrate the muscle fibers and trap moisture inside during the cooking process.
Pro Tip: Salt changes the protein structure so it can hold onto more water. This is the secret to preventing that "woody" texture often found in overcooked white meat.
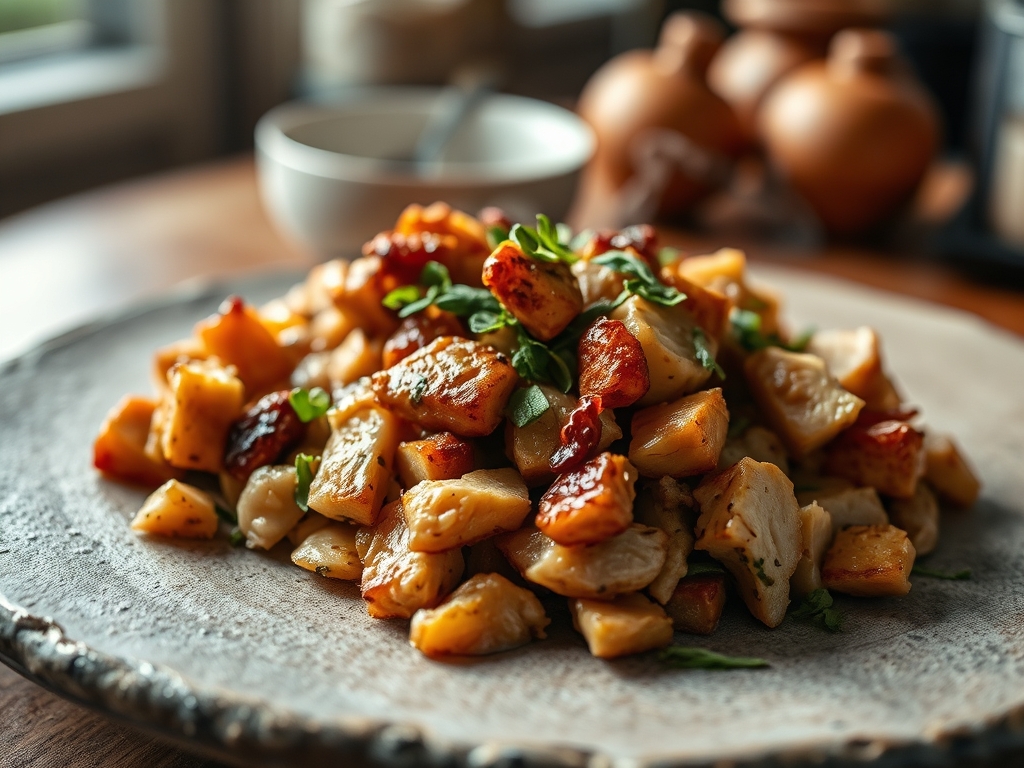
3. The High-Heat Sear
Heat your heavy-bottomed skillet until the oil shimmering. Add the chicken in a single layer, leaving space between pieces. If you crowd the pan, the temperature drops and the meat releases liquid, leading to a grey, boiled appearance.
Pro Tip: Avoid moving the meat for the first two minutes. This allows for enzymatic browning, creating a complex profile of flavors that cannot be achieved through stirring alone.
4. The Deglaze
Once the chicken is browned, remove it and look at the brown bits stuck to the pan. This is called "fond." Add a splash of stock or wine and scrape the bottom with a wooden spoon to incorporate those concentrated flavors back into your sauce.
Pro Tip: Deglazing uses thermal shock to lift caramelized proteins. This is where the deepest umami notes in your chopped chicken recipes come from.
5. The Emulsion Finish
Return the chicken to the pan and add your sauce components. Stir vigorously to encourage the fats and liquids to bind. If the sauce looks broken or oily, add a teaspoon of pasta water or a slurry of cornstarch.
Pro Tip: A saucier is the best tool for this, as its rounded bottom prevents sauce from scorching in the corners and aids in aeration.
The Deep Dive:
When we look at the macro nutrition of chopped chicken recipes, we are dealing with a lean powerhouse. A standard 4-ounce serving of chicken breast provides roughly 26 grams of protein with minimal fat. To keep it keto-friendly, focus on fat-heavy sauces like pesto or avocado lime. For vegan swaps, seitan is your best friend because its high gluten content provides a chew that closely mimics animal protein.
The Fix-It:
- Rubbery Texture: This usually means the chicken was cooked too long at a low temperature. Fix it by using a higher flame next time to sear quickly.
- Bland Flavor: You likely forgot to season at every stage. Fix it by adding a finishing salt or a squeeze of fresh lemon to brighten the dull notes.
- Sticking to the Pan: You likely tried to flip the meat before the Maillard reaction was complete. The meat will naturally "release" from the pan once the crust has formed.
For meal prep, reheating is a science. Avoid the microwave if possible; it vibrates water molecules so violently that it toughens the protein. Instead, reheat your chopped chicken in a skillet with a tablespoon of water or broth. This creates a steam-tent effect that restores moisture to the fibers.
The Wrap-Up:
You are now armed with the technical prowess to turn simple chopped chicken recipes into a weekly highlight. By focusing on surface area, temperature control, and the magic of the deglaze, you have elevated a basic ingredient into a culinary tool. Remember, the kitchen is your laboratory. Don't be afraid to experiment with different acids and aromatics to find your signature flavor profile. Now, go grab that skillet and show that chicken who is boss!
The Kitchen Table:
How do I keep chopped chicken from getting dry?
Dry brine the meat with salt for 10 minutes before cooking. This helps the proteins retain moisture. Always use high heat to sear the outside quickly, ensuring the center stays succulent and tender.
Can I use frozen chicken for these recipes?
Yes, but thaw it completely in the refrigerator first. Pat it extremely dry with paper towels. Excess moisture from ice crystals will prevent browning and cause the chicken to steam rather than sear.
What is the best way to cut chicken into even cubes?
Slightly freeze the chicken for 20 minutes before cutting. This firms up the muscle fibers, making it much easier to achieve clean, uniform cubes with your chef's knife without the meat sliding around.
How long does cooked chopped chicken last in the fridge?
Stored in an airtight container, it stays fresh for three to four days. For the best quality, reheat it in a pan with a splash of liquid to prevent the protein from becoming tough and rubbery.