
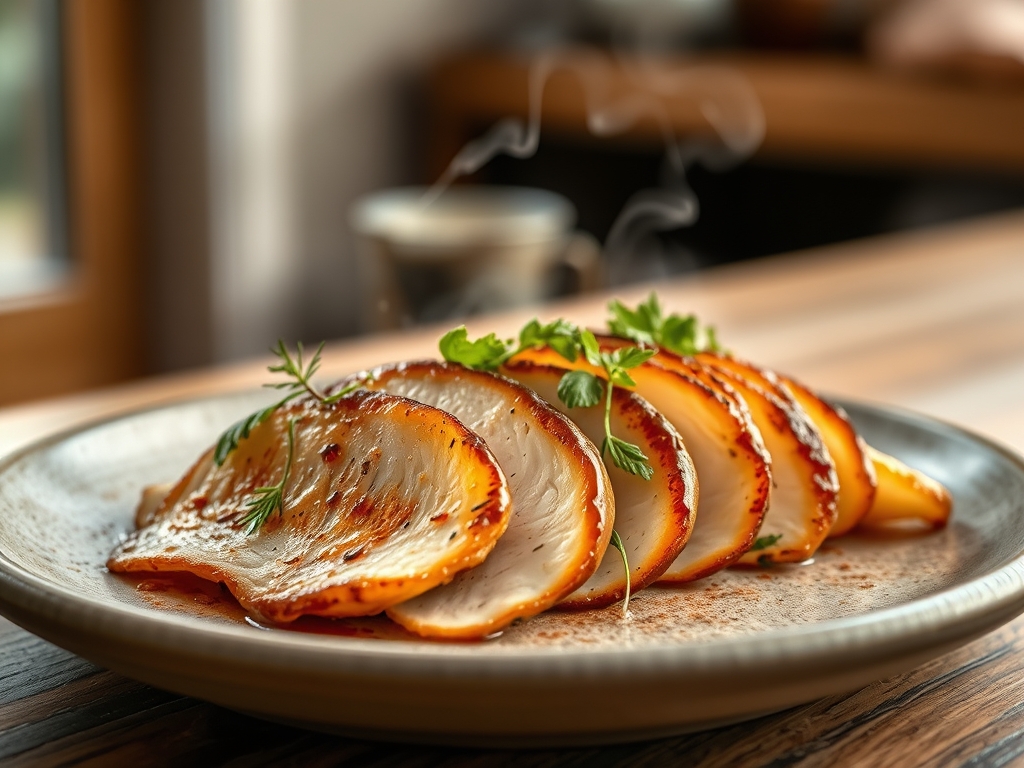
Picture the sound of a heavy bottomed skillet hitting the burner; that rhythmic clink is the starting bell for the fastest dinner in your repertoire. You are standing over the counter with a sharp chef knife, ready to transform a standard breast into something elegant. Mastering thin slice chicken recipes is the ultimate culinary cheat code for the busy professional. These cuts offer a massive surface area to volume ratio, meaning they absorb marinades in minutes and sear in seconds. We are talking about golden, crispy edges and juicy centers that defy the usual dry fate of poultry.
The magic lies in the speed of heat transfer. Because the meat is less than half an inch thick, the thermal energy does not have to travel far to reach the center. This allows you to focus entirely on the Maillard reaction, that beautiful browning of proteins and sugars that creates deep, savory flavors. It is about efficiency without sacrificing the soul of the dish. Whether you are craving a piquant lemon piccata or a crusty parmesan cutlet, these thin slice chicken recipes deliver a high end restaurant experience in the time it takes to boil a pot of water. Let us get your mise en place ready and dive into the physics of the perfect sear.
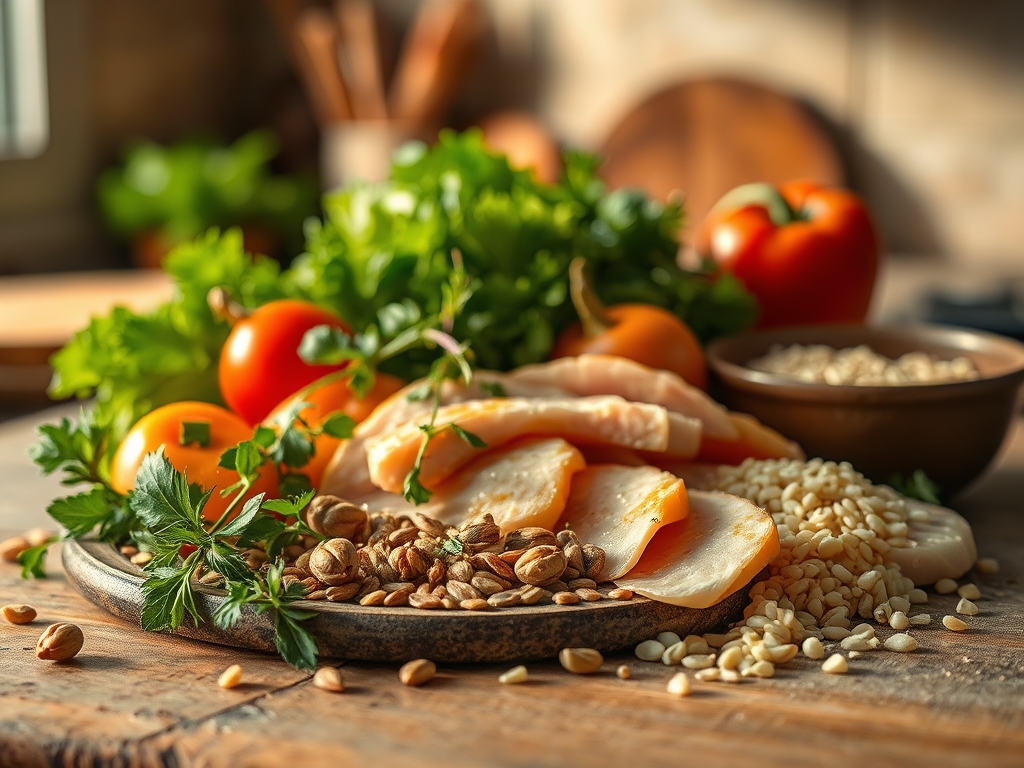
The Gathers:
To execute these thin slice chicken recipes with precision, your workstation must be organized. Start with your protein: high quality chicken breasts, ideally air chilled to prevent excess water release during cooking. You will need a heavy bottomed skillet, preferably cast iron or stainless steel, to maintain consistent thermal mass. Grab your digital scale to ensure portion uniformity and a microplane for zesting aromatics like garlic or ginger into a fine, viscous paste.
The pantry staples are equally vital. You need a high smoke point fat, such as avocado oil or clarified butter, to achieve a hard sear without acrid smoke. For the "Smart Substitutions," if you are out of traditional flour for dredging, reach for arrowroot powder or cornstarch; these starches create a glass like crunch that stays crispy longer under sauces. If you lack dry white wine for deglazing, a splash of verjus or a diluted white wine vinegar provides that essential acid profile to cut through the richness of the rendered fats.
The Clock
Efficiency is the heartbeat of these thin slice chicken recipes. Total preparation time, including slicing and dredging, typically clocks in at twelve minutes. The actual cook time is a mere three to four minutes per side. This rapid pace requires a concept known as "Chef's Flow." This means every ingredient is measured and every tool, from your tongs to your saucier, is within arm's reach before the heat is turned on.
The flow begins with the "Prep Phase," where you slice and pound the meat to a uniform thickness. Next is the "Searing Phase," which is high intensity and requires your full attention. Finally, the "Resting Phase" allows the muscle fibers to relax. Because thin slices lose heat quickly, the resting period is shorter than a whole roast, usually just two minutes under a tent of foil. This ensures the internal juices redistribute without the meat becoming cold.
The Masterclass
1. The Precision Slice
Place your hand flat on top of the chicken breast and use a long, sharp knife to slice horizontally through the center. Aim for a thickness of roughly one quarter inch. If the pieces are uneven, place them between sheets of plastic wrap and use a meat mallet or the bottom of a heavy pan to gently even them out.
Pro Tip: This uniformity is crucial because of thermal conductivity. If one side is thicker than the other, the thin edge will overcook and become fibrous before the center reaches the safe internal temperature of 165 degrees Fahrenheit.
2. The Dry Brine and Dredge
Season your slices generously with kosher salt at least ten minutes before cooking. If you are using a coating, dip the chicken into your starch of choice and shake off the excess until only a translucent film remains.
Pro Tip: Salt triggers denaturation, a process where protein strands unwind and trap moisture. This ensures that even with the high heat of thin slice chicken recipes, the interior remains succulent rather than dry.
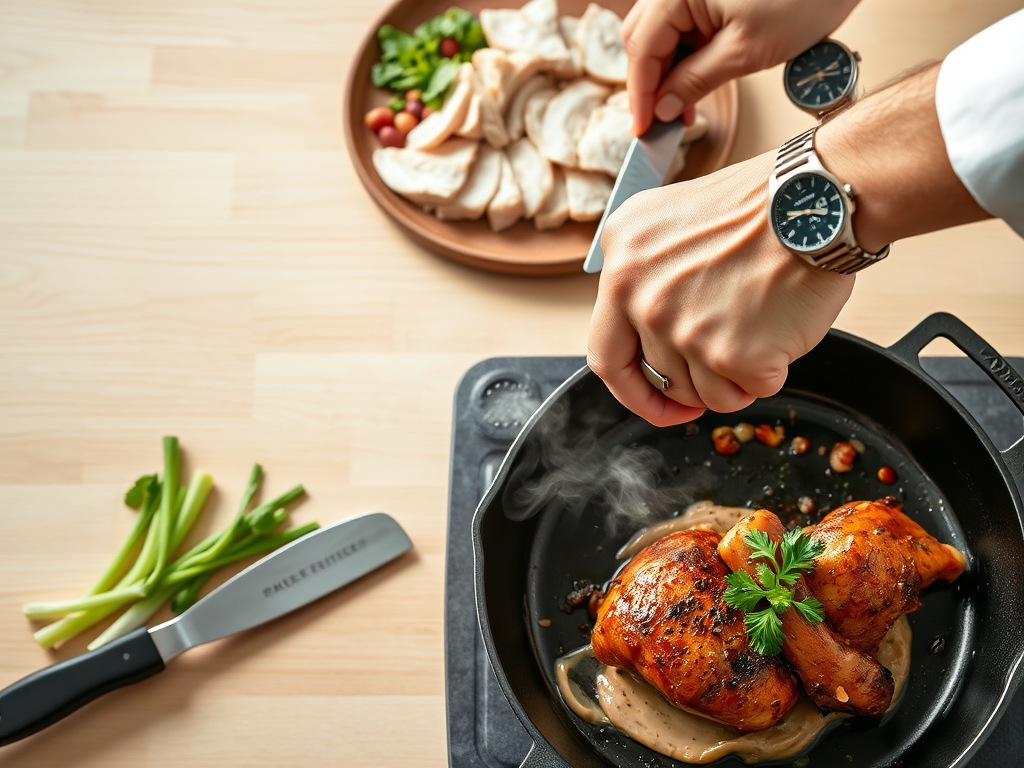
3. The High Heat Sear
Heat your skillet until the oil shimmers and just begins to wisps of smoke. Lay the chicken away from you to avoid oil splatter. Do not crowd the pan; work in batches if necessary to maintain the pan temperature.
Pro Tip: Crowding the pan leads to evaporative cooling. If too much moisture is released at once, the temperature drops and the chicken steams in its own juices rather than browning through the Maillard reaction.
4. The Deglaze and Emulsify
Once the chicken is removed, you will see brown bits stuck to the pan. Pour in your liquid, such as chicken stock or wine, and use a wooden spoon or bench scraper to lift those bits. Whisk in cold butter at the very end to create a glossy, thick sauce.
Pro Tip: This is the science of emulsification. The cold butter fat molecules are suspended in the aqueous liquid, creating a viscous coating that clings to the thin slice chicken recipes perfectly.
The Deep Dive
From a macro perspective, thin slice chicken recipes are a nutritional powerhouse. A standard four ounce serving provides approximately 25 grams of lean protein with minimal fat, depending on your cooking oil. For those following specific lifestyles, these recipes are incredibly adaptable. Keto followers can swap flour for almond meal, while Gluten Free cooks can utilize rice flour for an exceptionally light, tempura like texture. For a Vegan alternative, this exact "thin slice" technique works beautifully with pressed extra firm tofu or seitan cutlets.
Even experts hit snags. If your coating is "sliding off" the meat, it is likely because the chicken was too wet before dredging; always pat the meat bone dry with paper towels. If the chicken is "tough," you likely skipped the pounding step or overcooked it by even sixty seconds. To fix a "broken sauce" that looks oily, whisk in a teaspoon of warm water or stock to re-establish the emulsion. For meal prep, reheat your chicken in a toaster oven rather than a microwave. The dry heat of the oven reactivates the exterior crispness, whereas a microwave vibrates water molecules, making the coating soggy and the protein rubbery.
The Wrap-Up
Mastering thin slice chicken recipes transforms your kitchen from a place of chore to a place of craft. By understanding the physics of heat and the chemistry of a good sear, you have unlocked the ability to create gourmet meals in under twenty minutes. These techniques are your foundation. Once you feel comfortable with the sizzle of the pan and the swirl of the sauce, you can experiment with global flavors from soy ginger glazes to smoky chipotle rubs. Now, grab your skillet and let the searing begin!
The Kitchen Table
How do I stop thin chicken from drying out?
The key is brevity and salt. Dry brine the chicken with salt for ten minutes to retain moisture, then cook over high heat for no more than three minutes per side. Remove the meat as soon as it hits 165 degrees.
Can I cook thin slice chicken from frozen?
It is not recommended. Frozen meat releases significant moisture as it thaws in the pan, which prevents the Maillard reaction. For the best results in thin slice chicken recipes, always thaw completely and pat dry with a paper towel before searing.
What is the best oil for searing chicken?
Use an oil with a high smoke point, such as avocado, grapeseed, or refined olive oil. These fats can withstand the 400 degree temperatures required for a crisp exterior without burning or creating bitter, off flavors in your finished dish.
Why does my breading fall off the chicken?
Breading usually fails due to surface moisture or improper temperature. Ensure the chicken is very dry before dredging. Additionally, let the breaded chicken sit for five minutes before frying to allow the starch to hydrate and "glue" to the protein surface.