
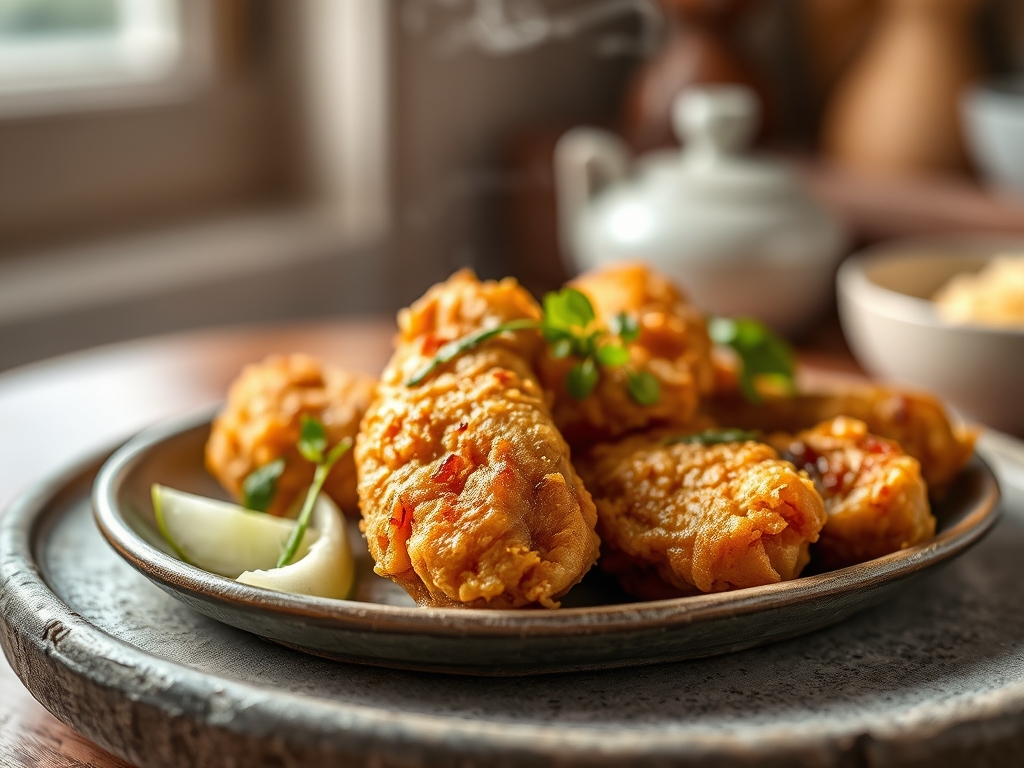
Imagine the sound of a glass needle dropping onto a vintage vinyl record. That sharp, rhythmic snap is exactly what your teeth should experience when they meet the golden armor of a perfect piece of poultry. When we talk about elite tempura chicken recipes, we are not just discussing dinner; we are discussing a high stakes architectural feat where air, ice, and protein collide. Most home cooks end up with a soggy, bready blanket that slides off the meat like a sad raincoat. We are going to fix that. By mastering the delicate balance of hydration and thermal shock, you will transform standard chicken breast into ethereal, shatter-crisp clouds. This is the intersection of high end chemistry and comfort food. We are chasing that specific, airy crunch that lingers for a second before melting away. Grab your apron and clear your counter. We are about to turn your kitchen into a professional grade fry station where the science of the crunch is the only law that matters.
The Gathers:
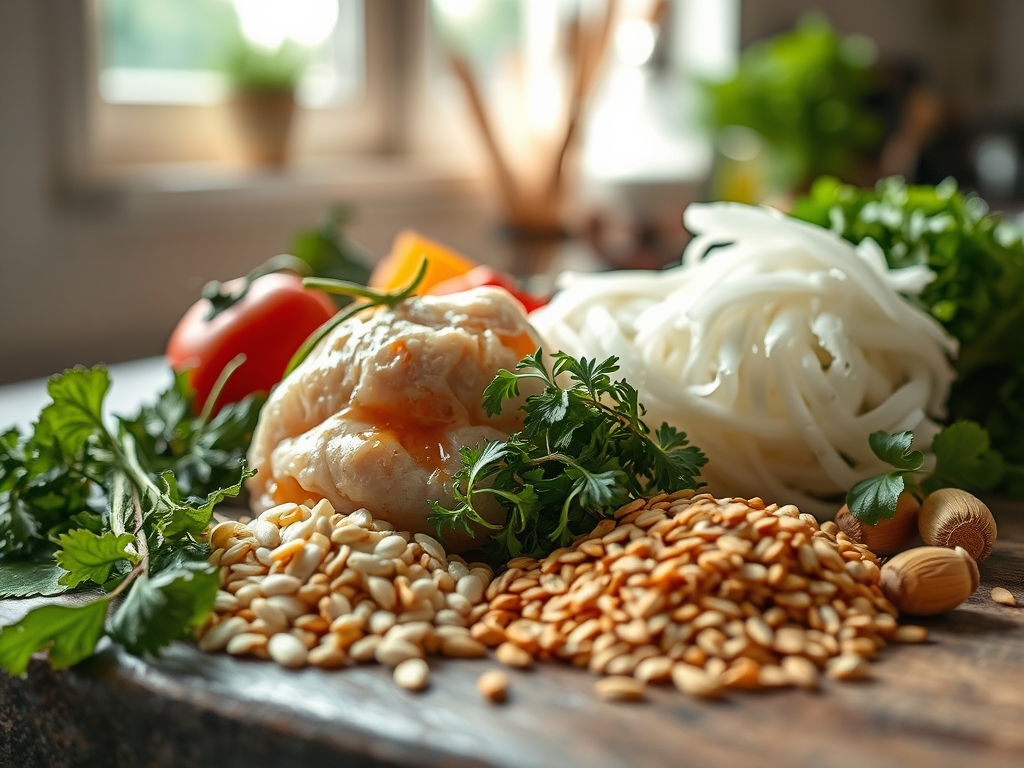
To execute world class tempura chicken recipes, your mise-en-place must be colder than a polar bear's toenails. Start with your protein: 1.5 pounds of chicken breast or thighs, sliced into uniform one inch strips. For the dry base, you need a low protein flour, specifically cake flour, which has a lower gluten content than all-purpose varieties. You will also need cornstarch to provide structural integrity and a leavening agent like baking powder to create micro-bubbles.
The liquid component is where the magic happens. Forget tap water; you need highly carbonated club soda or a dry sparkling wine, chilled until ice crystals start to form. The dissolved CO2 acts as a secondary aerator. For seasoning, skip the heavy spices that burn in the oil. Use fine sea salt, white pepper for a clean heat, and a pinch of MSG if you want that professional umami punch.
Smart Substitutions: If you are avoiding alcohol or soda, ice-cold filtered water with a teaspoon of rice vinegar works wonders. The acid helps to tenderize the proteins and inhibits excessive gluten development. For a deeper golden hue without overcooking, a single egg yolk can be whisked in, though purists might argue it makes the batter too heavy. Use a digital scale for these measurements; precision is the difference between a crisp shell and a doughy mess.
The Clock:
Efficiency in the kitchen is about the Chef's Flow, which is the logical sequencing of tasks to minimize downtime and maximize temperature control.
- Prep Time: 20 Minutes. This includes slicing the chicken and whisking your dry ingredients. Do not mix the wet and dry until the oil is at temperature.
- Chill Time: 15 Minutes. While your oil heats, let your sliced chicken rest in the refrigerator. Cold meat prevents the interior from overcooking before the exterior is crisp.
- Cook Time: 15 Minutes. Working in batches is non-negotiable. Overcrowding the heavy-bottomed skillet or wok causes the oil temperature to plummet, leading to grease absorption.
- Total Time: 50 Minutes.
The flow is simple: Prep, Chill, Heat, Mix, Fry. By the time your oil reaches 350 degrees Fahrenheit, your batter should be lumpy and freezing. This thermal delta between the ice-cold batter and the searing oil is what creates the legendary "shatter" effect.
The Masterclass:
1. The Protein Prep and Parch
Slice your chicken against the grain to ensure a tender bite. Use a paper towel to pat every single piece bone-dry. Any surface moisture on the meat will create steam under the batter, causing the coating to detach and become soggy.
Pro Tip: This is known as surface desiccation. By removing moisture, you allow the light dusting of cornstarch to adhere perfectly, creating a dry "primer" for the wet batter to grip.
2. The Dry Dredge
Toss the dried chicken pieces in a bowl with a light coating of cornstarch. Shake off every bit of excess until only a translucent film remains. Use a bench scraper to keep your station clean and move the chicken to a wire rack.
Pro Tip: This layer acts as a moisture barrier. It prevents the natural juices of the chicken from leaking into the crust during the fry, which would otherwise steam the batter from the inside out.
3. The Ice-Cold Batter Integration
In a stainless steel bowl set inside a larger bowl of ice, combine your cake flour and baking powder. Pour in your carbonated liquid. Use a pair of long tongs or chopsticks to stir the mixture for exactly ten seconds. Stop while there are still lumps and visible flour streaks.
Pro Tip: Over-mixing triggers gluten development. Gluten creates a chewy, bread-like texture; we want a friable, delicate lattice. The lumps actually create "nooks and crannies" that increase surface area for extra crunch.
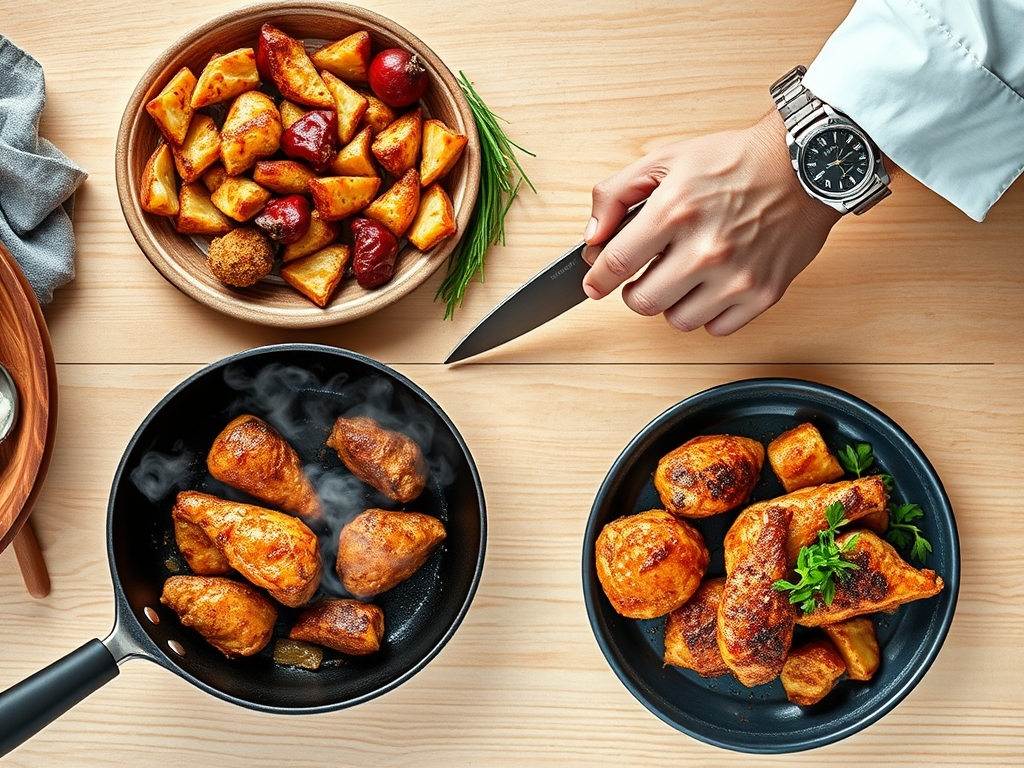
4. The Oil Calibration
Fill a heavy-bottomed skillet with high-smoke-point oil like peanut or grapeseed. Heat it until it reaches 350 degrees Fahrenheit. Use an infrared thermometer to verify. If the oil is too cool, the batter absorbs fat; if it is too hot, the outside burns before the chicken reaches a safe internal temperature.
Pro Tip: Maintaining a consistent thermal mass is vital. A heavy pan retains heat better when cold food is added, preventing the temperature "dip" that ruins crispy textures.
5. The Dip and Drop
Dip a piece of chicken into the cold batter, let the excess drip off for two seconds, and gently lay it into the oil away from your body. Do not crowd the pan. You should see immediate, vigorous bubbling as the water in the batter evaporates.
Pro Tip: This is the Leidenfrost effect in action. The rapidly evaporating steam creates a protective vapor layer that prevents the oil from soaking into the food while the crust hardens.
6. The Golden Retrieval
Fry for 3 to 4 minutes, turning once with a slotted spoon or spider strainer. The chicken is done when it is a pale, golden straw color. Do not wait for it to turn dark brown; tempura is meant to be light.
Pro Tip: Account for thermal carryover. The internal temperature of the chicken will continue to rise by 5 degrees after removal. Pulling it at 160 degrees Fahrenheit ensures it hits the safe 165 mark without drying out.
7. The Aerated Rest
Immediately move the chicken to a wire cooling rack set over a baking sheet. Never rest fried food on paper towels, as they trap steam and turn the bottom of your chicken into mush.
Pro Tip: This allows for 360-degree air circulation. It ensures the "crunch" sets on all sides through evaporative cooling rather than steaming in its own heat.
The Deep Dive:
Macro Nutrition: A standard serving of tempura chicken (approx. 6 oz) contains roughly 420 calories, 28g of protein, 22g of carbohydrates, and 24g of fat. While it is a fried indulgence, using a clean oil and a light batter keeps the "grease factor" lower than traditional Southern fried chicken.
Dietary Swaps: For a Gluten-Free version, replace cake flour with a 50/50 mix of white rice flour and potato starch. This actually creates an even crunchier shell. For a Keto approach, use unflavored whey protein isolate and crushed pork rinds as a dredge, though the texture will be more "breaded" than "tempura."
The Fix-It:
- Problem: Batter is falling off. Fix: Your chicken was too wet or you skipped the cornstarch dredge.
- Problem: Crust is tough/chewy. Fix: You over-mixed the batter; remember, lumps are your friends.
- Problem: Chicken is greasy. Fix: Your oil temperature was below 325 degrees Fahrenheit.
Meal Prep & Reheating: To maintain "day-one" quality, never use a microwave. Reheat leftovers in an air fryer at 375 degrees for 3 minutes or in a toaster oven on a wire rack. This re-activates the fats and drives out any absorbed moisture, restoring the original snap.
The Wrap-Up:
Mastering tempura chicken recipes is a rite of passage for any serious home cook. It requires you to respect the physics of temperature and the chemistry of starch. When you pull that first batch of golden, craggy chicken out of the oil, you aren't just making a meal; you are creating a sensory experience. The contrast between the steaming, succulent interior and the brittle, icy-cold-turned-shattering-hot exterior is culinary perfection. Serve this immediately with a piquant dipping sauce or a simple squeeze of lemon. You have the tools, you have the science, and now you have the secret to the ultimate crunch. Go forth and fry with confidence.
The Kitchen Table:
Why is my tempura batter soggy?
Sogginess usually occurs because the oil temperature dropped too low or the batter was over-mixed, creating gluten. Ensure your oil stays at 350 degrees Fahrenheit and keep your batter ice-cold to maximize the steam-release that creates a crisp shell.
Can I use all-purpose flour for tempura?
You can, but cake flour is better due to its lower protein content. If using all-purpose, replace two tablespoons of flour with cornstarch for every cup used. This mimics the low-protein structure needed for a delicate, non-chewy crunch.
What is the best oil for frying tempura?
Use oils with a high smoke point and neutral flavor, such as peanut, canola, or grapeseed oil. Avoid extra virgin olive oil or butter, as they will burn and impart a bitter taste at the necessary frying temperatures.
How do I keep tempura chicken warm?
Place a wire rack on a baking sheet and keep it in an oven set to 200 degrees Fahrenheit. The rack allows air to circulate, preventing steam from softening the crust while you finish frying the remaining batches of chicken.