
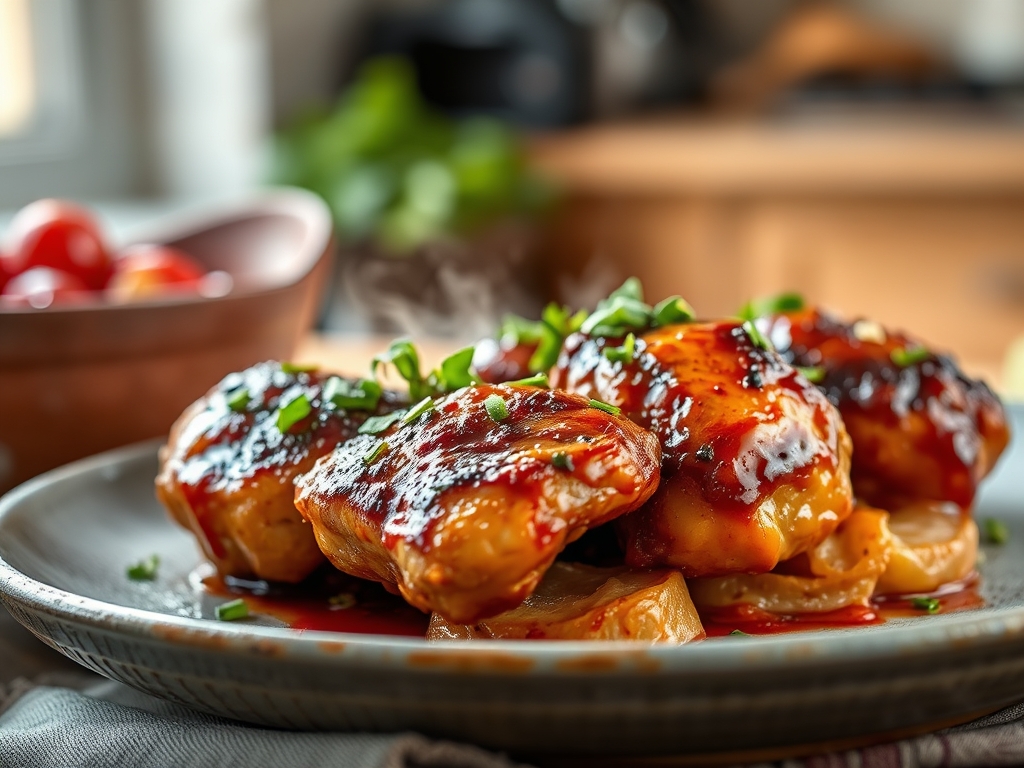
Picture this: the sun is dipping below the horizon, the air is thick with the scent of hickory smoke, and your fingers are just the right amount of sticky. We have all been there, staring at a charred exterior and a raw interior, wondering why barbecue chicken recipes easy searches always lead to such complicated heartbreaks. It stops today. We are going to master the art of the bird, turning your backyard into a five star smokehouse with nothing but science and a little bit of sass.
The secret to a legendary grill session is not just the heat; it is the chemistry of the crust and the moisture of the meat. We are aiming for that perfect balance of sweet, heat, and acidity that makes your taste buds sing. Grab your favorite beverage and let us get into the grit of how to make this happen without breaking a sweat or burning the skin to a crisp.
The Gathers:
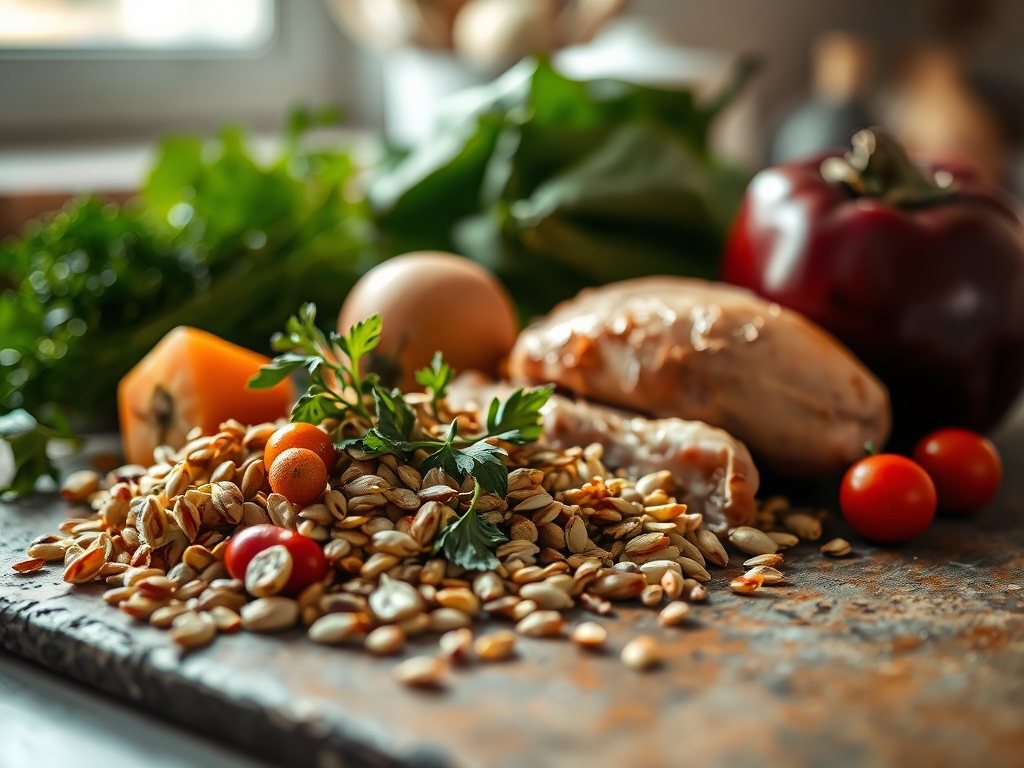
To begin our culinary journey, we must assemble our mise-en-place with precision. Your workstation should look like a laboratory of flavor. Start with high quality chicken cuts; bone-in, skin-on thighs are the gold standard for beginners because the bone acts as a thermal conductor while the skin provides a protective lipid barrier. You will need a digital scale to measure your dry rub ingredients, ensuring a consistent salt-to-sugar ratio for optimal crust formation.
Our flavor profile relies on a viscous sauce and a piquant dry rub. Gather smoked paprika, garlic powder, onion powder, and a touch of cayenne. For the wet components, you will need apple cider vinegar to provide acidity that cuts through the fat, and dark brown sugar for that essential caramelization.
Smart Substitutions:
If you are out of brown sugar, use honey or maple syrup; however, be aware that honey has a lower burn point. If you lack a traditional grill, a heavy-bottomed skillet or a cast iron grill pan can mimic the searing capabilities of an outdoor grate. Instead of store bought sauce, use a saucier to reduce a mixture of tomato paste, molasses, and liquid smoke for a deeper, more complex profile.
The Clock: Chef's Flow
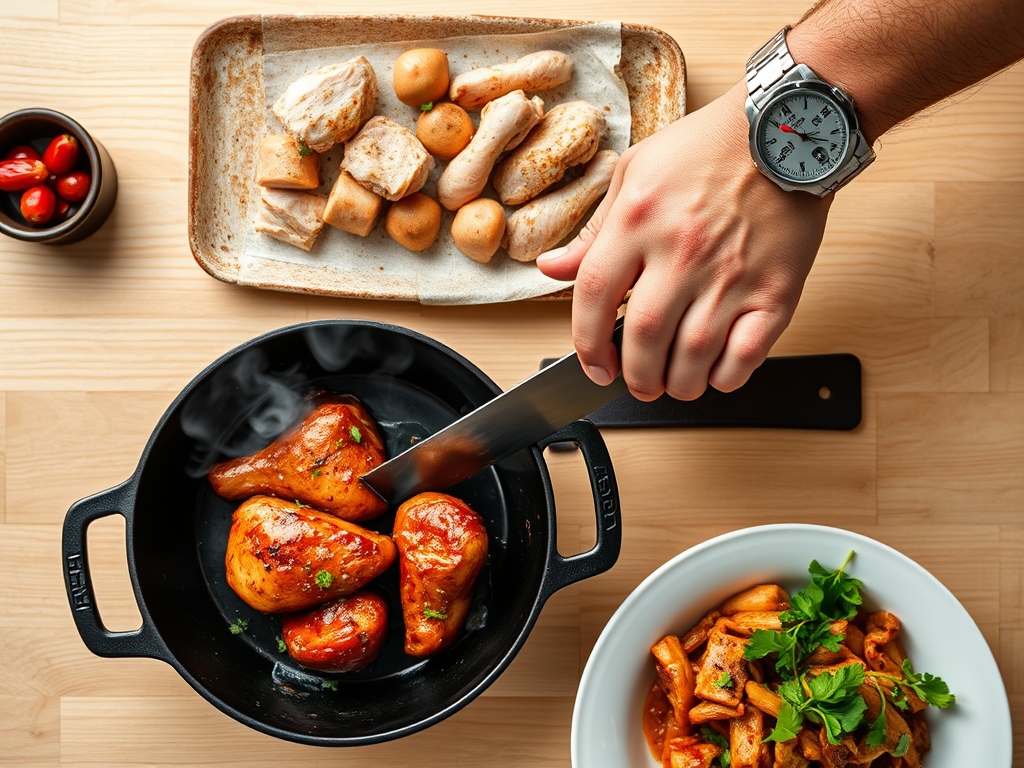
Timing is the difference between a succulent meal and a rubbery disaster. Your prep time should take approximately 20 minutes, which includes patting the chicken dry to remove surface moisture and applying the rub. The "Chef's Flow" dictates that you allow the seasoned meat to sit at room temperature for 15 minutes before it touches the heat. This prevents "thermal shock," where the muscle fibers contract too quickly and squeeze out precious juices.
Expect a total cook time of 35 to 45 minutes for bone-in pieces. We utilize a "two-zone" cooking method: 25 minutes of indirect heat to cook the interior, followed by 10 minutes of direct heat for the final sear and sauce application. Always factor in a 10 minute rest period at the end. This is not optional; it allows the internal pressure to stabilize so the juices do not flee the moment you take a bite.
The Masterclass
1. The Dry Brine Ritual
Before the fire starts, coat your chicken in a salt-forward dry rub. This process, known as denaturation, alters the protein structure to help the meat retain more moisture during the cook. Use your bench scraper to tidy up your spice station as you work.
Pro Tip: This is the "Osmosis Effect." Salt draws moisture out, dissolves into a brine, and is then reabsorbed into the meat, seasoning it deeply rather than just on the surface.
2. Calibrating the Heat Zones
Set up your grill with a hot side and a cool side. This allows you to control the thermal gradient. If the chicken flare-ups occur, you have a safe zone to move the meat to immediately using your long-handled tongs.
Pro Tip: Controlling the "Convection Flow" ensures the thickest part of the thigh reaches the safe internal temperature without the exterior turning into carbon.
3. The Skin-Side Strategy
Start your chicken skin-side down on the indirect heat side. This allows the subcutaneous fat to render slowly, which prevents the skin from becoming rubbery.
Pro Tip: This is "Lipid Rendering." By melting the fat slowly, you create a thin, crispy layer that acts as a flavor insulator for the meat underneath.
4. Monitoring Internal Temps
Forget the "poke test" or cutting into the meat to check for doneness. Use a digital instant-read thermometer to pull the chicken when it hits 160 degrees Fahrenheit.
Pro Tip: "Thermal Carryover" will raise the internal temperature by another 5 degrees while the meat rests, bringing it to the perfect, safe 165 degrees without drying it out.
5. The Aerated Sauce Application
Wait until the last 10 minutes to apply your sauce. Because most barbecue chicken recipes easy versions involve high sugar content, applying it too early results in a bitter, burnt mess.
Pro Tip: This is the "Maillard Reaction" versus "Caramelization." You want the sugars to brown and become tacky, not undergo pyrolysis, which is the chemical breakdown caused by overexposure to high heat.
6. The Glaze and Sear
Move the chicken to the direct heat side once the sauce is applied. Use a silicone basting brush to create layers of flavor. Flip frequently to build a "lacquered" finish.
Pro Tip: This "Layering Technique" creates a multi-dimensional crust where the sugars and proteins fuse into a complex, savory-sweet coating.
7. The Resting Period
Place the finished chicken on a warm platter and tent it loosely with foil. Do not wrap it tightly, or the steam will soften that beautiful crispy skin you just worked so hard to achieve.
Pro Tip: "Proteinic Reabsorption" occurs here. As the meat cools slightly, the muscle fibers relax and pull the juices back into the center of the cut.
The Deep Dive
Macro Nutrition: A standard 6 ounce serving of barbecue chicken thighs provides roughly 35 grams of protein and 18 grams of fat. While the sauce adds carbohydrates (mostly from sugars), you can control this by using a vinegar-based mop instead of a thick tomato-based glaze.
Dietary Swaps: For a Keto version, swap the sugar in your rub for erythritol and use a sugar-free mustard sauce. Vegan friends can follow this exact flavor profile using oyster mushrooms or seitan, though the cook times will be significantly reduced. For a Gluten-Free feast, ensure your liquid smoke and Worcestershire sauce are certified GF.
The Fix-It:
- Skin is soggy: You likely didn't render the fat long enough. Next time, start skin-side down on a lower heat for a longer duration.
- Meat is dry: You missed the pull temp. Use your thermometer religiously; even two minutes too long can ruin the texture.
- Sauce is burnt: The sugar ignited. Always move the chicken to the indirect zone if the sauce starts to smoke excessively.
Meal Prep: To reheat and maintain "day-one" quality, avoid the microwave. Use an oven at 325 degrees with a splash of chicken stock in the pan to create a moist environment. This prevents the proteins from becoming "warmed-over" flavored, a result of lipid oxidation.
The Wrap-Up
Mastering barbecue chicken recipes easy is about more than just following a list; it is about understanding the dance between fire and fiber. When you respect the rendering process and honor the resting period, you elevate a simple backyard staple into a culinary masterpiece. You have the tools, the science, and the technique. Now, go forth and dominate that grill; your friends are waiting for the best chicken of their lives!
The Kitchen Table
How do I keep chicken from sticking to the grill?
Ensure your grates are scrubbed clean and highly seasoned. Wipe them with a rolled-up paper towel dipped in vegetable oil right before adding the meat. A hot, lubricated surface prevents the proteins from bonding to the metal.
Should I boil chicken before grilling?
Never boil your chicken. It leaches out all the flavor and results in a mealy, unappealing texture. Use the two-zone grilling method instead to ensure the meat is cooked through while remaining juicy and flavorful.
Can I use chicken breasts for this recipe?
Yes, but be careful. Breasts lack the fat content of thighs and dry out rapidly. Cook them to an internal temperature of exactly 155 degrees and let carryover cooking bring them to 160 for the best results.
What is the best wood for smoking chicken?
Fruitwoods like apple or cherry provide a mild, sweet smoke that complements poultry without overpowering it. Avoid heavy woods like mesquite unless you are looking for a very bold, almost bitter flavor profile.