
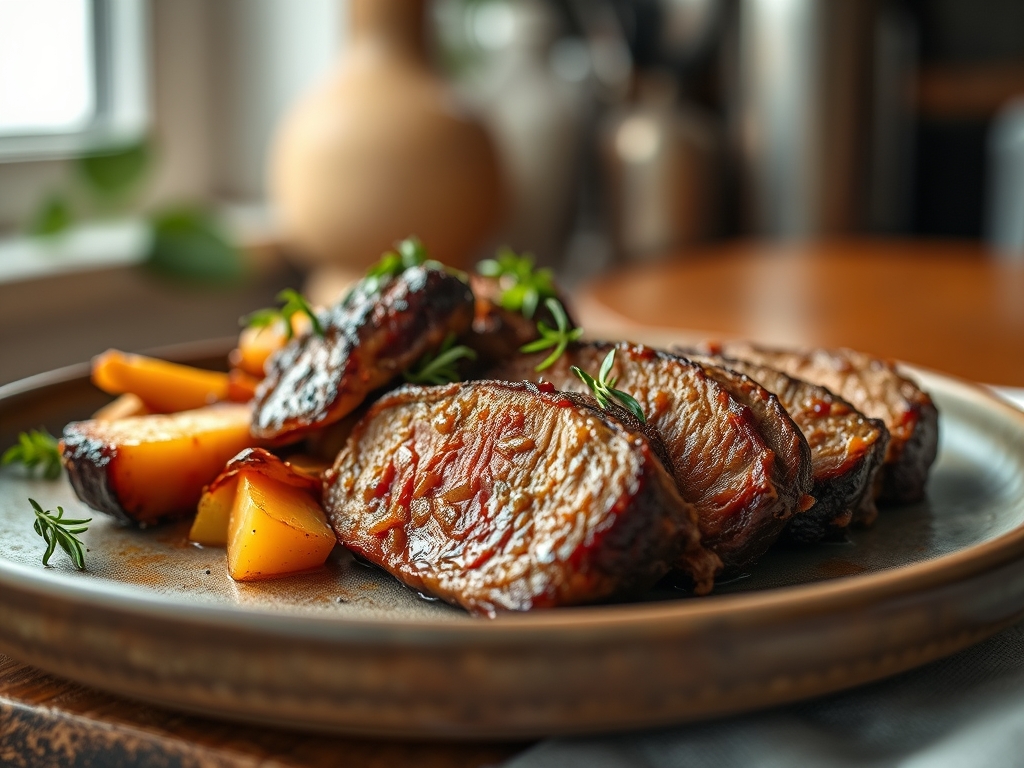
The scent of seared protein and garlic hitting a hot pan is the universal language of a home that knows how to eat well. We have all been there; it is six in the evening and the craving for a decadent, Sunday-style dinner hits, but the reality of a Tuesday schedule looms large. You might think a proper roast requires a four-hour commitment and a prayer to the oven gods, but the truth is far more efficient. By mastering specific chemical triggers and heat management, quick roast beef recipes become your weeknight superpower. We are talking about achieving that perfect, ruby-red center and a salty, crusty exterior in under an hour. It is not magic; it is simply better physics. Forget the tough, grey slabs of the past. We are leaning into high-heat searing and precision resting to transform humble cuts into restaurant-quality masterpieces that fit into your busy life without sacrificing a single drop of flavor.
The Gathers:
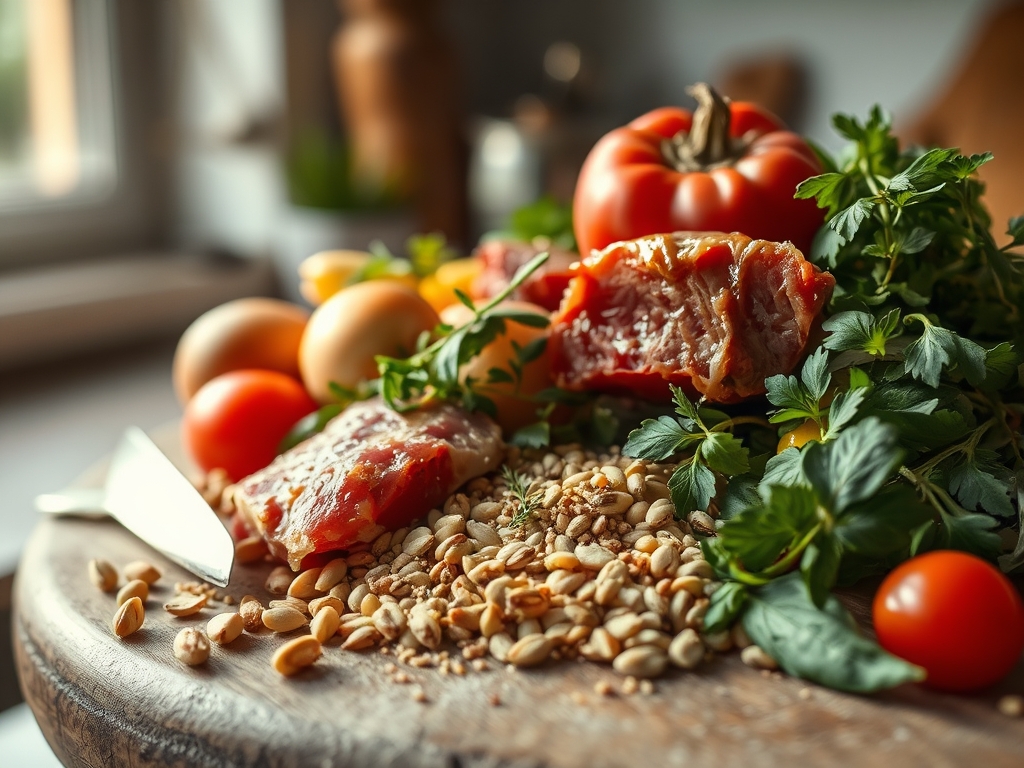
To execute these quick roast beef recipes with surgical precision, your mise-en-place must be impeccable. Start with the star: a two-pound Eye of Round or Top Sirloin roast. These leaner cuts are ideal for rapid cooking because they lack the heavy connective tissue of a chuck roast, which requires hours to hydrolyze collagen into gelatin. You will need high-smoke-point fats like avocado oil or clarified butter to facilitate the Maillard reaction without filling your kitchen with acrid smoke.
Gather your aromatics: fresh rosemary sprigs, thyme, and at least six cloves of garlic. Use a microplane to zest a bit of lemon into your salt rub; the citric acid acts as a subtle tenderizer. For the "Smart Substitutions," if you lack fresh herbs, use a high-quality dried herbes de Provence but bloom them in the oil first to release their volatile oils. If you are watching sodium, replace half the salt with nutritional yeast. It provides a savory, piquant depth that mimics the umami of aged beef. Ensure your digital scale is handy to weigh your aromatics, as precision here prevents one flavor from overpowering the delicate infuse process of the meat.
The Clock
The "Chef's Flow" is all about overlapping tasks to eliminate dead time. Your total active time is fifteen minutes, with a thirty-minute cook and a ten-minute rest. While the oven preheats to a blistering 450 degrees Fahrenheit, you are seasoning and searing. The moment the beef hits the oven, you shift to your sides or a quick pan sauce. This synchronized movement ensures that the second the meat has finished its mandatory rest, the rest of the meal is plated and steaming. Efficiency is the difference between a stressful kitchen and a joyful one.
The Masterclass
1. The Tempering Phase
Take your beef out of the refrigerator at least thirty minutes before cooking. Use a paper towel to pat the surface bone-dry. Moisture is the enemy of a good crust; energy spent evaporating surface water is energy not spent browning the meat.
Pro Tip: This allows for more even heat distribution. If the center is icy, the exterior will overcook before the middle reaches a safe temperature, a phenomenon known as a steep thermal gradient.
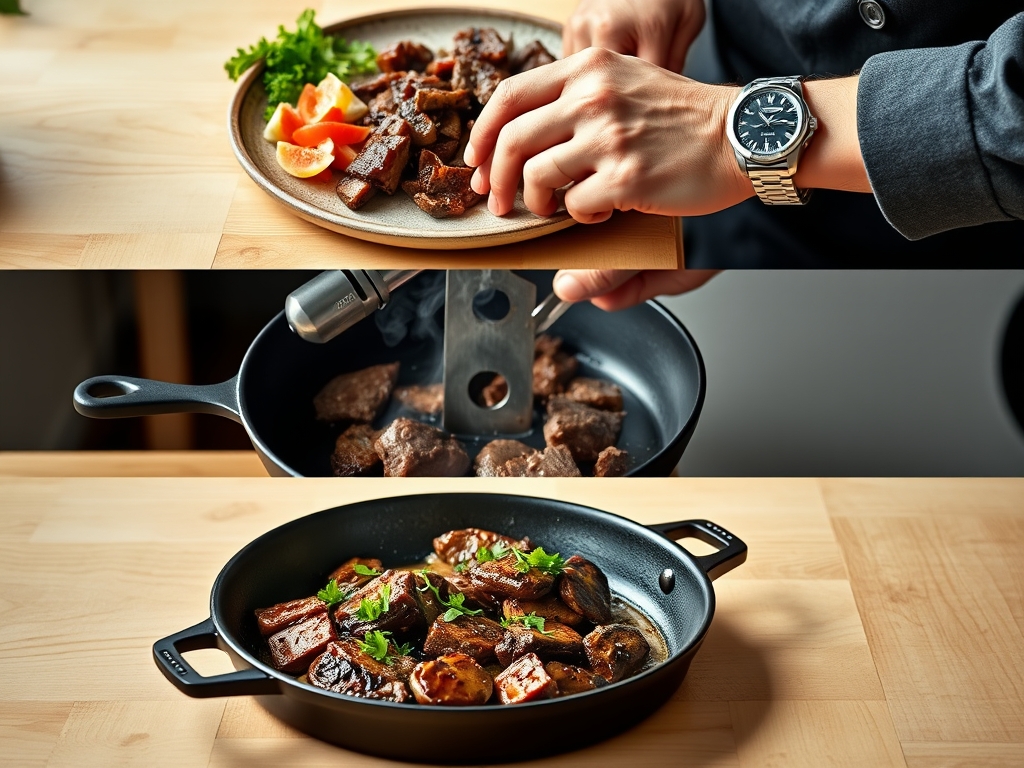
2. The Aggressive Sear
Heat a heavy-bottomed skillet until the oil ripples. Use tongs to press the beef firmly against the metal. You want a deep, mahogany crust on all sides.
Pro Tip: This is the Maillard reaction in action. This chemical reaction between amino acids and reducing sugars creates hundreds of different flavor compounds that give roasted meat its characteristic savory profile.
3. The High-Heat Blast
Transfer the beef to the oven. Because we are using smaller or leaner cuts for our quick roast beef recipes, we use a "constant high heat" method rather than a "low and slow" approach.
Pro Tip: High heat facilitates rapid rendering of any surface fat. This liquid fat then bastes the meat as it cooks, keeping the exterior hydrated while the interior temperature rises.
4. The Precision Pull
Use a digital thermometer to pull the meat when it hits 125 degrees Fahrenheit for medium-rare. Do not guess. A few degrees are the difference between buttery and bouncy.
Pro Tip: Account for thermal carryover. The internal temperature will continue to rise by 5 to 10 degrees after you remove it from the heat as the energy from the outer layers migrates toward the center.
5. The Deglaze
While the meat rests, place your skillet back on the burner. Pour in a splash of red wine or beef stock and use a bench scraper or whisk to lift the browned bits (the fond) from the bottom.
Pro Tip: This process captures the concentrated proteins and sugars left behind. Swirl in a knob of cold butter at the end to emulsify the sauce, creating a viscous, glossy finish.
6. The Sacred Rest
Place the beef on a warm cutting board and wait. Do not tent it tightly with foil, as this can steam the crust and make it soggy; a loose drape is sufficient.
Pro Tip: Resting allows the muscle fibers, which tightened during cooking, to relax and reabsorb their juices. If you cut too soon, the internal pressure will force the liquid out, leaving you with dry meat.
7. The Cross-Grain Carve
Identify the direction of the muscle fibers and slice perpendicular to them. This shortens the fibers, making every bite feel significantly more tender.
Pro Tip: This is a mechanical way to "tenderize" the meat. By cutting the long protein strands into short segments, you do the work for your teeth, enhancing the perceived quality of the cut.
The Deep Dive
From a macro perspective, roast beef is a nutritional powerhouse. A 3-ounce serving provides roughly 25 grams of high-quality protein and is rich in Vitamin B12 and Zinc. For those on a Keto path, this is a perfect zero-carb anchor. If you are Gluten-Free, ensure your deglazing liquid is a pure stock rather than a flour-thickened gravy. For a Vegan alternative, apply these same searing and deglazing techniques to a large "roast" of cauliflower or seitan to mimic the savory depth.
The "Fix-It" section: If your meat is too tough, you likely skipped the tempering phase or sliced with the grain. If the exterior is grey instead of brown, your pan wasn't hot enough or the meat was wet. If the meat is dry, you overshot the pull temperature. To fix dry meat, slice it very thin and submerge it briefly in a hot, flavorful saucier of jus to rehydrate the fibers.
For meal prep, reheating science is key. Never microwave roast beef; the agitation of water molecules will turn it into rubber. Instead, wrap slices in foil with a teaspoon of water and warm in a 300-degree oven until just heated through. This preserves the viscous texture of the fats without overcooking the protein.
The Wrap-Up
Mastering quick roast beef recipes is about reclaiming the luxury of a home-cooked meal without the exhaustion of a marathon kitchen session. By focusing on the science of the sear and the patience of the rest, you turn a simple piece of protein into an event. You have the tools, the techniques, and the technical know-how to dominate dinner tonight. Now, grab your skillet and let the Maillard magic begin!
The Kitchen Table
How do I get a crust without overcooking the inside?
Ensure the meat is dry and the pan is smoking hot. A rapid, high-heat sear browns the surface before the internal temperature can climb significantly. This creates a high-contrast texture between the crust and the tender interior.
What is the best cut for a 30-minute roast?
Top Sirloin or Eye of Round are best. These cuts are lean and uniform in shape, allowing for even heat penetration. They lack the heavy connective tissue that requires long, slow braising to break down.
Can I cook a roast beef from frozen?
It is not recommended for quick recipes. The exterior will burn or dry out long before the center thaws. For the best results, always thaw completely and temper the meat at room temperature before it hits the pan.
Why is my roast beef tough even when pink?
You likely sliced with the grain. Always look for the lines of muscle fiber and cut across them. This mechanical break in the fibers ensures the meat pulls apart easily when chewed, regardless of the cook level.