
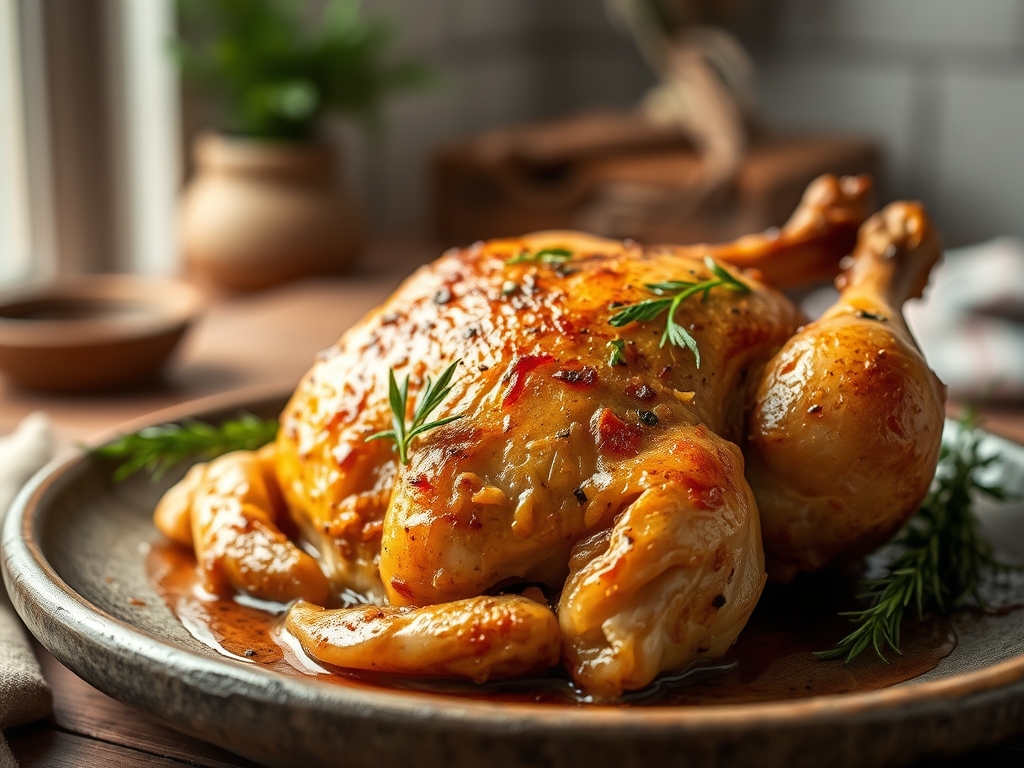
Imagine the sound of a sharp knife piercing through a glass-like, golden crust. There is a specific, primal joy in pulling a bird from the oven when the skin has reached that perfect state of amber translucence. If you have been searching for the best whole baked chicken recipes, you are likely chasing that elusive combination of shattered-glass skin and meat so succulent it practically dissolves. This is not just cooking; it is an exercise in thermal dynamics and moisture management. We are moving past the days of dry, stringy breast meat and pale, rubbery skin. By understanding how heat interacts with protein fibers and how fats render at specific temperatures, you can transform a humble grocery store bird into a centerpiece that commands the room. Whether you are hosting a festive dinner or just elevating your Sunday meal prep, the secret lies in the details. From the way you salt the cavity to the specific angle of your roasting rack, every choice matters. Let us dive into the mechanics of the perfect roast.
The Gathers:
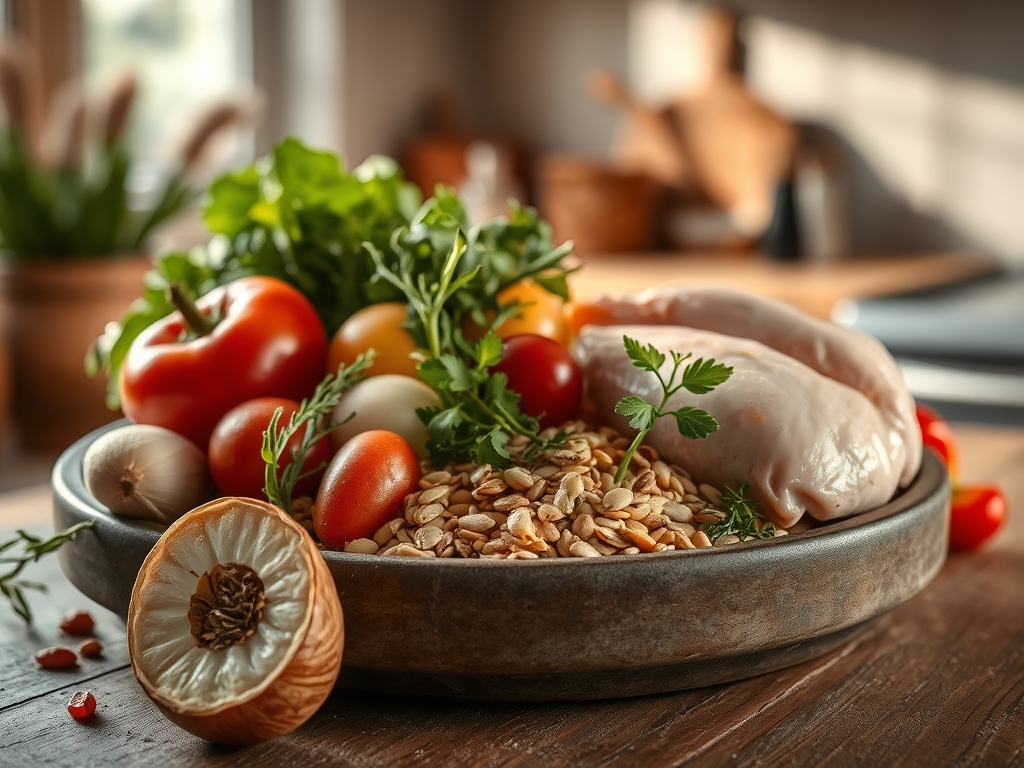
To achieve the best whole baked chicken recipes, your mise-en-place must be precise. Start with a four to five pound bird, ideally air-chilled to ensure the skin is not water-logged. You will need high-quality fats; unsalted European-style butter offers a higher butterfat content, which is essential for a viscous mouthfeel. Gather your aromatics: woody herbs like rosemary and thyme, a whole head of garlic sliced crosswise to expose the cloves, and a piquant lemon.
For the seasoning, use a digital scale to measure out kosher salt. The coarse grains are vital for creating a dry brine that draws out surface moisture. You will also need a microplane to zest your citrus without hitting the bitter white pith. If you find yourself missing an ingredient, do not panic. Smart Substitutions are your best friend. Swap butter for duck fat or ghee for a higher smoke point. If fresh herbs are unavailable, use a small amount of dried herbes de Provence, but remember to crush them between your palms to release the volatile oils. For a dairy-free version, high-quality avocado oil provides the necessary lipids without the milk solids that can burn too quickly.
The Clock
Efficiency in the kitchen is all about the Chef's Flow. Expect to spend about 20 minutes on active prep, but the real magic happens in the "waiting" phases. A proper dry brine should ideally last 12 to 24 hours in the refrigerator. This allows the salt to penetrate the muscle tissue via osmosis. Once the bird hits the heat, a four-pound chicken typically requires 60 to 75 minutes at 425 degrees Fahrenheit.
The most critical part of the clock is the rest period. You must allow the bird to sit for at least 20 minutes after it leaves the oven. This is not just a suggestion; it is a biological necessity. During this time, the internal juices, which have been pushed toward the center of the meat by the heat, redistribute back toward the surface. If you cut it too soon, those juices will end up on your cutting board rather than in your mouth.
The Masterclass
1. The Surface Preparation
Dry the bird thoroughly using paper towels. Moisture is the enemy of the Maillard reaction, which is the chemical reaction between amino acids and reducing sugars that gives browned food its distinctive flavor.
Pro Tip: This is known as hygroscopy. By removing surface water, you allow the oven's energy to immediately begin browning the skin rather than wasting energy evaporating steam.
2. The Trussing Technique
Using butcher's twine, secure the wings against the body and tie the legs together. Use your tongs to flip the bird and ensure the twine is taut.
Pro Tip: Trussing ensures thermal uniformity. A compact shape prevents the extremities from overcooking and drying out before the thickest part of the breast reaches a safe temperature.
3. The Fat Infusion
Slide your fingers under the skin of the breast to create a pocket. Insert a compound butter mixed with garlic and herbs directly onto the meat.
Pro Tip: This creates a localized emulsification. As the butter melts, the fats infuse the lean breast meat, while the water content in the butter creates a small amount of steam that keeps the meat tender.
4. The High-Heat Launch
Place the bird in a heavy-bottomed skillet or a roasting pan. Start the oven at a high temperature, around 425 degrees Fahrenheit, to jumpstart the rendering of the subcutaneous fat.
Pro Tip: High initial heat triggers enzymatic browning. This rapid increase in temperature creates a crisp exterior "shield" that helps lock in internal moisture.
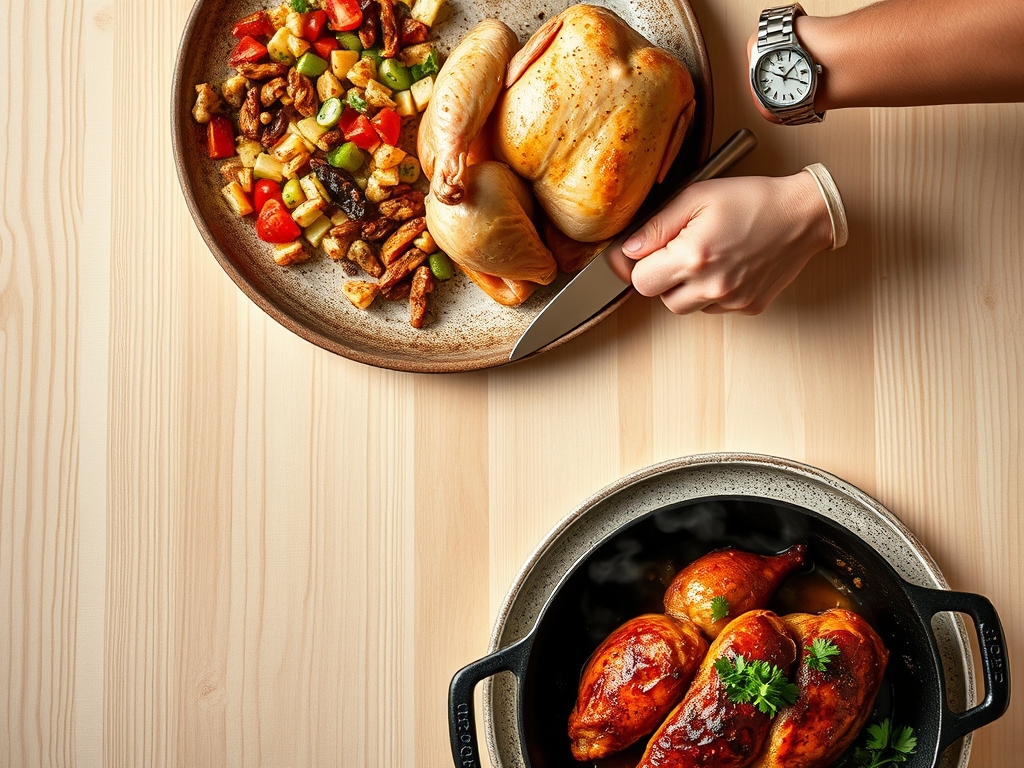
5. The Saucier Deglaze
Once the chicken is done, remove it to a board. Take the pan drippings and place the pan over a burner. Use a saucier or a whisk to incorporate a splash of white wine or stock.
Pro Tip: This is deglazing. The browned bits at the bottom of the pan, known as fond, contain concentrated umami compounds that, when dissolved in liquid, create a complex, professional-grade jus.
The Deep Dive
From a nutritional standpoint, a whole roast chicken is a powerhouse of lean protein and essential vitamins like B12 and zinc. One four-ounce serving typically contains about 250 calories and 25 grams of protein. For those following a Keto lifestyle, this is a perfect meal as it is naturally zero-carb and high in healthy fats. To make this Vegan, you would obviously swap the bird for a large cauliflower head, using the same roasting and basting techniques to achieve a similar charred texture.
Even the best chefs hit snags. If your skin is pale but the meat is done, turn on the broiler for two minutes, but watch it like a hawk to prevent burning. If the legs are undercooked while the breast is perfect, you likely did not let the bird come to room temperature before roasting. To fix this, shield the breast with foil and return the bird to the oven. If the pan starts smoking, your fat has reached its smoke point; add a splash of water to the pan to lower the temperature.
For meal prep, reheating chicken can often result in a "warmed-over" flavor caused by lipid oxidation. To maintain "day-one" quality, reheat slices in a covered pan with a tablespoon of water or stock. This creates a gentle steam environment that prevents the proteins from tightening and becoming rubbery.
The Wrap-Up
Mastering the art of the roast is a rite of passage for any home cook. It is about the harmony of heat, salt, and fat. When you pull that bird out and see the shimmering, crackling skin, you will know the science was worth the effort. Grab your bench scraper to tidy up your workspace, pour yourself a glass of whatever you used to deglaze the pan, and enjoy the most succulent meal you have ever made. You have got this!
The Kitchen Table
How do I know when the chicken is perfectly done?
Use a digital thermometer to check the thickest part of the thigh. It should read 165 degrees Fahrenheit. Ensure the probe does not touch the bone, as bone conducts heat differently and can provide a false, higher reading.
Can I roast a chicken directly from the freezer?
No, you should never roast a frozen whole chicken. The exterior will burn or dry out long before the center reaches a safe temperature. Always thaw the bird completely in the refrigerator for 24 to 48 hours before cooking.
Why is my roasted chicken skin always soggy?
Soggy skin is usually caused by trapped steam. Ensure the bird is completely dry before oiling. Avoid overcrowding the roasting pan with too many vegetables, which release moisture and create a humid environment that prevents the skin from crisping.
What is the best way to get flavor deep into the meat?
Dry brining is the most effective method. Rubbing salt over the skin and inside the cavity at least six hours before cooking allows the salt to dissolve and penetrate the muscle fibers, seasoning the bird from the inside out.