
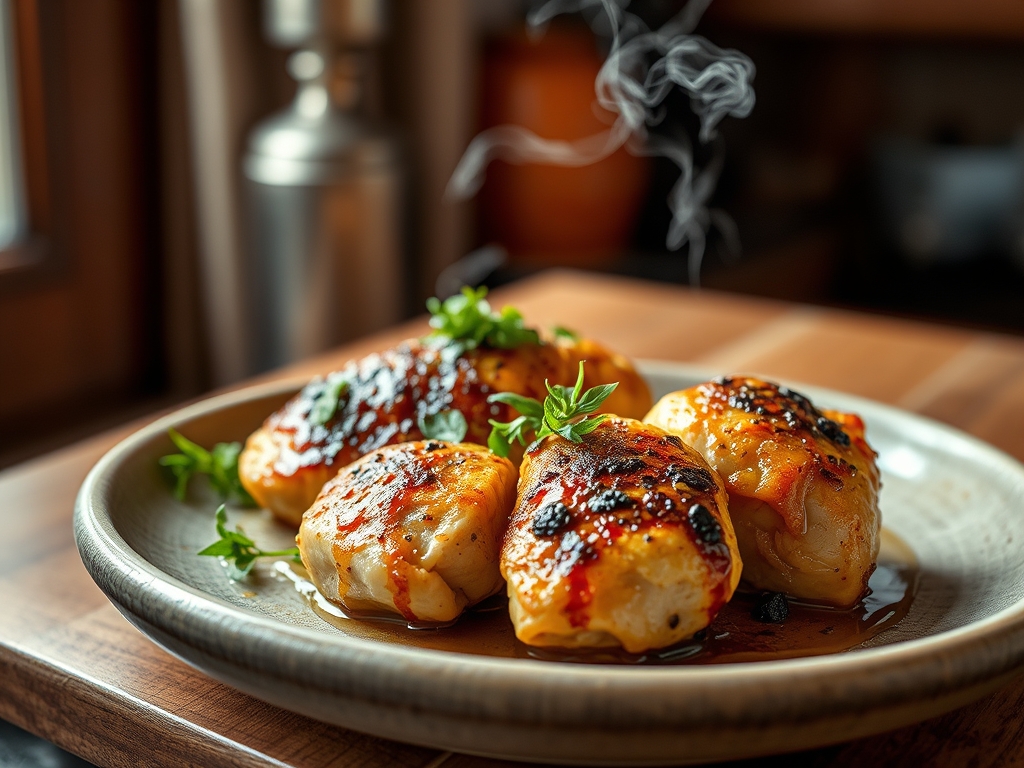
Close your eyes and listen to the sound of a heavy bottomed skillet hitting a high flame. It is the rhythmic sizzle of fat rendering and the intoxicating aroma of garlic hitting hot oil that transforms a kitchen into a sanctuary. When you master chicken recipes delicious enough to stop time; you are not just cooking; you are conducting a symphony of amino acids and heat. We have all been there; staring at a pack of bland breasts wondering how to coax life out of lean protein. The secret is not just in the spice rack; it is in the molecular dance of the Maillard reaction and the precision of your thermal tools. Whether you are searing to a deep mahogany or poaching to a silk-like finish; these six methods will redefine your relationship with the bird. We are moving beyond the rubbery textures of the past and into a world where every bite is a calculated explosion of flavor. Grab your favorite apron and a glass of wine; because we are about to turn your kitchen into a high-end bistro.
The Gathers:
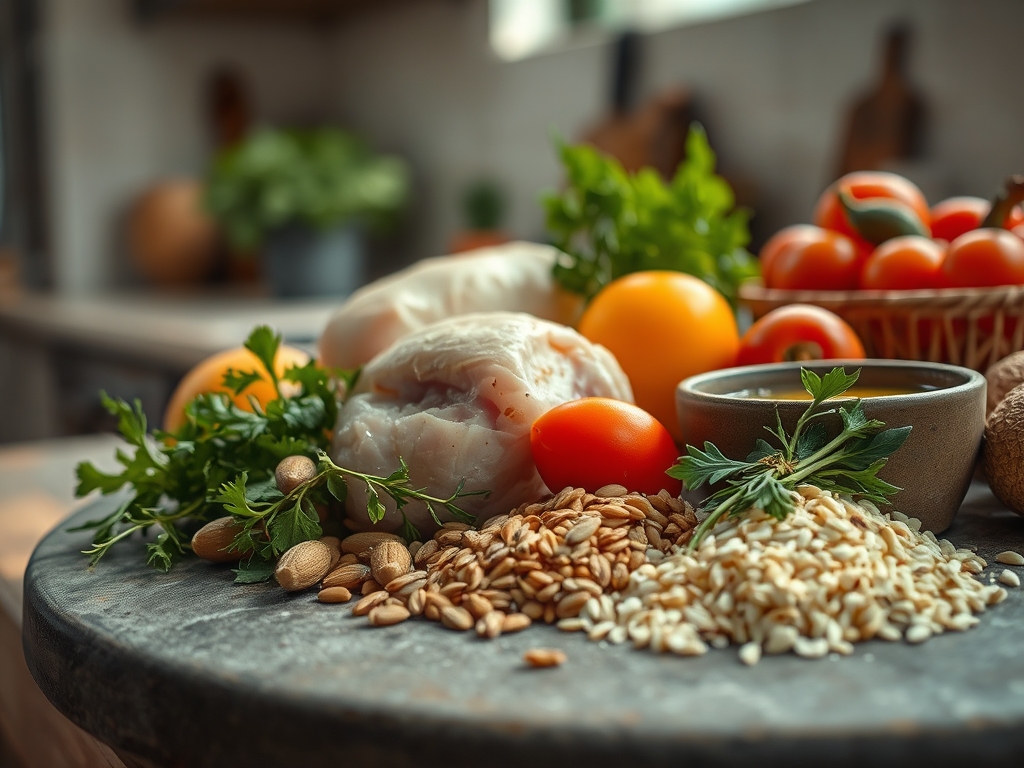
Setting the stage requires more than just clearing the counter; it requires a curated mise-en-place that respects the chemistry of your ingredients. Your primary canvas is high-quality poultry; ideally air-chilled to ensure the skin remains dehydrated for maximum crispness. You will need a high-smoke-point fat like avocado oil or clarified butter to withstand the thermal intensity required for searing. Gather your aromatics: fresh thyme sprigs; fat cloves of garlic; and perhaps a knob of ginger for a piquant edge. A digital scale is your best friend here; ensuring your dry rubs are balanced to the gram.
Smart Substitutions: If you lack fresh herbs; high-quality dried options work if you "bloom" them in hot oil first to release their volatile oils. For those avoiding dairy; a high-viscosity coconut cream can replace heavy cream in pan sauces without sacrificing the mouthfeel. If you are out of white wine for deglazing; a splash of verjus or a diluted apple cider vinegar provides that necessary acidity to cut through the richness of the rendered fat.
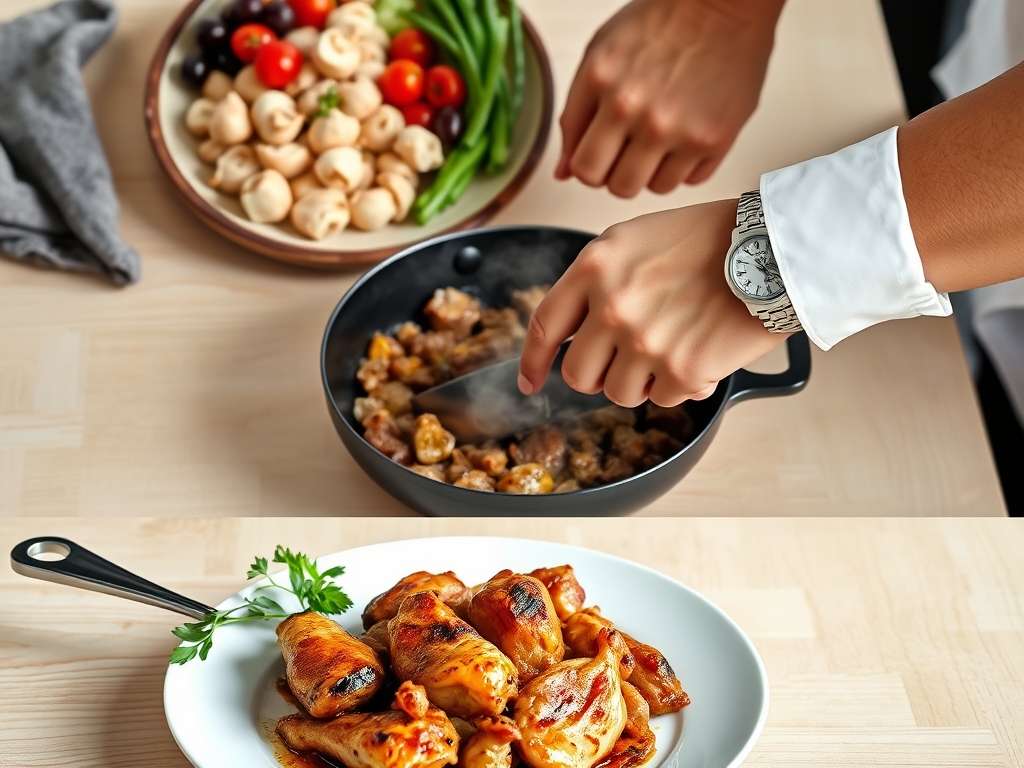
The Clock
Efficiency in the kitchen is about the "Chef's Flow." This is the art of overlapping tasks so that no second is wasted while the pan is hot. Total active prep time for these methods averages twenty minutes; while cook times range from a lightning-fast eight-minute sauté to a forty-minute slow roast. The flow begins with tempering your meat; bringing it to room temperature for fifteen minutes to ensure even heat penetration. While the chicken tempers; you perform your knife work. By the time your skillet has reached its Leidenfrost point; your aromatics are minced and your deglazing liquid is measured. This synchronization prevents the frantic scramble that leads to overcooked protein.
The Masterclass
1. The Perfect Pan-Sear
Begin by patting the chicken skin bone-dry with paper towels. Heat your heavy-bottomed skillet until the oil shimmers but does not smoke. Place the chicken skin-side down and resist the urge to move it. Use your tongs to check for release; once it lifts easily; the crust is set.
Pro Tip: This is the Maillard Reaction in action. This chemical reaction between amino acids and reducing sugars creates hundreds of different flavor compounds. Moving the meat too early disrupts the crust formation and causes tearing.
2. The Deglazed Pan Sauce
Once the chicken is removed to rest; you will see brown bits stuck to the bottom. These are called "fond." Toss in minced shallots; then pour in your liquid of choice. Use a whisk or wooden spoon to scrape the bottom; incorporating those concentrated flavors into a viscous sauce.
Pro Tip: Deglazing uses a solvent to lift flavorful solids. The alcohol in wine or the acidity in citrus helps dissolve the fond; creating a complex base that water alone cannot achieve.
3. The Low-Moisture Roast
For a whole bird; skip the liquid in the pan. Elevate the chicken on a rack to allow hot air to circulate 360 degrees. This convection effect ensures the skin renders its fat and crisps up like parchment paper.
Pro Tip: Thermal Carryover is vital here. Pull the chicken when the internal temperature hits 160 degrees Fahrenheit. The residual heat will continue to cook the bird to the safe 165 mark while it rests; preventing dryness.
4. The Aromatic Poach
Submerge chicken breasts in a liquid infused with peppercorns; bay leaves; and lemon slices. Keep the temperature just below a simmer; around 175 degrees. The goal is a gentle heat that prevents the muscle fibers from tightening too quickly.
Pro Tip: This method relies on Enzymatic Tenderization and gentle heat to keep proteins from denaturing aggressively. It results in a texture that is supple and moist; perfect for salads.
5. The High-Heat Broil
Position your oven rack to the highest setting. Coat your chicken in a sugar-based marinade like honey or hoisin. The intense overhead heat will caramelize the sugars in minutes; creating a charred; smoky exterior.
Pro Tip: Watch for Pyrolysis; which is the stage beyond caramelization where sugars burn. The window between a perfect char and a bitter burn is seconds; so stay vigilant.
6. The Velvet Stir-Fry
Slice chicken into uniform strips and coat them in a mixture of cornstarch and egg white before hitting a screaming hot wok. This creates a protective barrier that seals in juices while the exterior develops a silky sheen.
Pro Tip: This technique; known as Velveting; creates a physical buffer against high heat. The starch gelatinizes instantly; ensuring the lean meat remains tender even at extreme temperatures.
The Deep Dive
From a nutritional standpoint; chicken is a lean protein powerhouse. A standard four-ounce serving provides roughly 31 grams of protein with minimal saturated fat; especially if you opt for the breast. For those on a Keto path; keep the skin on for healthy fats and use butter for your pan sauces. Vegan friends can apply these exact searing and deglazing techniques to oyster mushrooms or seitan for a remarkably similar umami profile. If you are Gluten-Free; swap the flour in your roux for a slurry of arrowroot or cornstarch to achieve that perfect sauce thickness.
The Fix-It: If your chicken is tough; you likely skipped the resting phase; which allows juices to redistribute. If the skin is soggy; your pan wasn't hot enough or you crowded the skillet; creating steam instead of a sear. If the meat is dry; invest in a digital thermometer; guessing is the enemy of juiciness.
Meal Prep Science: To reheat without that "leftover" taste; avoid the microwave. Use a covered skillet with a tablespoon of water or broth over medium heat. This creates a mini-steam chamber that rehydrates the protein fibers without overcooking the exterior.
The Wrap-Up
Cooking is the ultimate blend of art and physics. By understanding how heat interacts with protein and how acidity balances fat; you elevate a simple ingredient into something extraordinary. These six methods are your foundation; but the variations are infinite. Don't be afraid to experiment with different aromatics or deglazing liquids. Your kitchen is your laboratory; and every meal is an opportunity to refine your craft. Now; go turn that burner on and make something incredible.
The Kitchen Table
How do I get the skin extra crispy?
Ensure the skin is completely dry before cooking. Use a heavy-bottomed skillet and do not crowd the pan. High heat and consistent contact with the fat are essential for rendering the collagen into a crisp; golden crust.
What is the best way to tell if chicken is done?
Use a digital meat thermometer to check the thickest part of the meat. It should read 165 degrees Fahrenheit. For better results; pull it at 160 degrees and let it rest for five minutes to reach the target temperature.
Can I use frozen chicken for these recipes?
Yes; but you must thaw it completely in the refrigerator first. Cooking from frozen leads to uneven heat distribution; where the outside overcooks and becomes rubbery before the center even reaches a safe temperature.
Why does my chicken always stick to the pan?
The pan or the oil was likely not hot enough. When the protein hits a hot surface; it undergoes a quick sear that naturally releases the meat. If it sticks; wait another minute for the crust to form.