
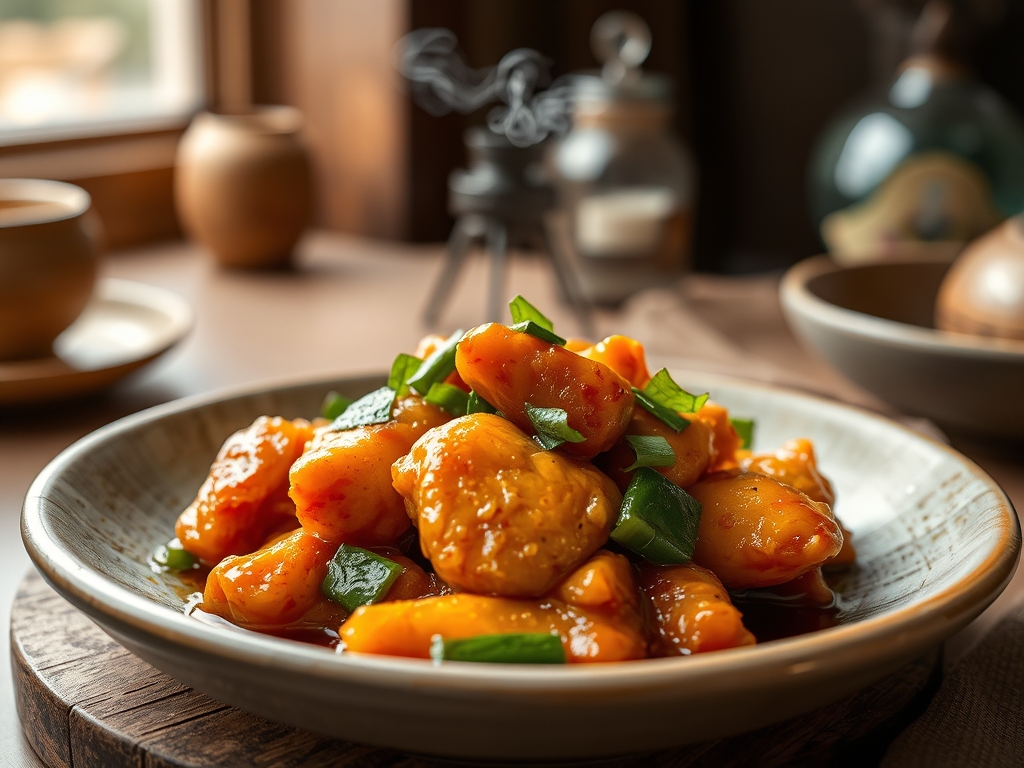
Close your eyes and listen for the sound of the perfect bite. It is not a soft crunch; it is a structural snap that yields to a succulent, steaming interior. We have all been there, hovering over a plastic container of soggy, neon-orange nuggets, wondering why the magic of chinese chicken recipes sweet and sour always seems to evaporate during the drive home. The truth is that restaurant versions often rely on heavy stabilizers and excessive food coloring to maintain that iconic glow. But today, we are reclaiming the wok. We are going to build a version that balances piquant vinegar notes with a deep, caramelized sweetness that actually tastes like real fruit. By understanding the molecular behavior of cornstarch and the Maillard reaction, you will create a dish that stays crisp even after it is tossed in a viscous, ruby-red glaze. Grab your heavy-bottomed skillet and your digital scale; we are about to turn your kitchen into the best bistro in town.
The Gathers:
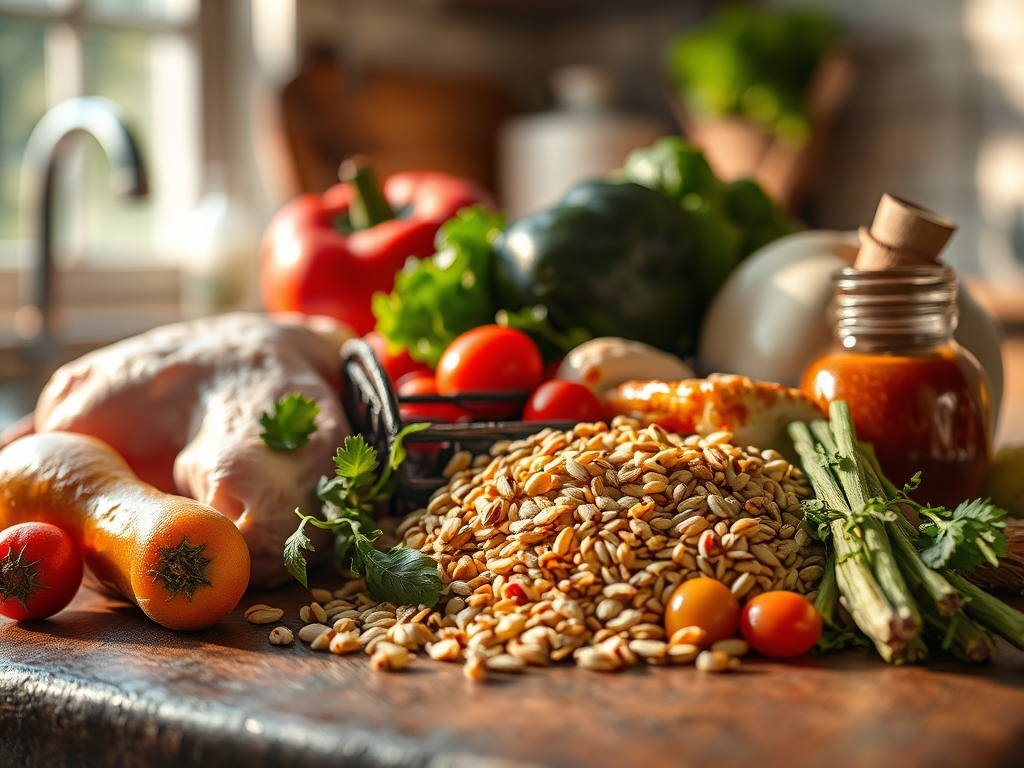
Before we ignite the burner, we must respect the mise-en-place. For the protein, choose boneless, skinless chicken thighs. While breasts are common, thighs contain more intramuscular fat and connective tissue, which render into a juicy interior that survives the high heat of frying. You will need a digital scale to measure out 500 grams of chicken, ensuring consistent cooking times. For the batter, we are using a 2:1 ratio of cornstarch to all-purpose flour. This creates a high-starch barrier that prevents moisture from escaping the meat.
The aromatics are the soul of the dish. Use a microplane to grate fresh ginger and garlic until they form a fine paste; this ensures they infuse the oil without burning. For the sauce, you need high-quality rice vinegar for that sharp acidity, granulated sugar for sweetness, and a touch of tomato paste for body and color.
Smart Substitutions: If you are watching your refined sugar intake, honey or agave can be used, though they will alter the viscosity of the sauce. For a soy-free alternative, coconut aminos provide a similar umami profile. If you lack rice vinegar, apple cider vinegar is the best backup, as it maintains the necessary fruitiness to complement the pineapple chunks.
The Clock
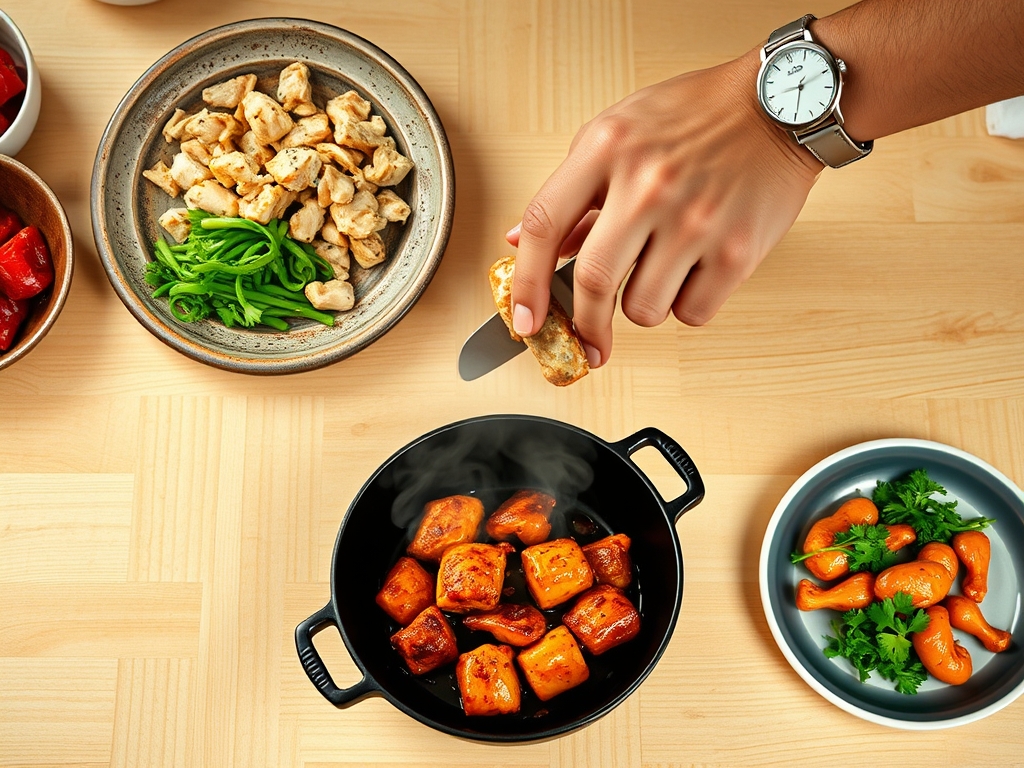
Efficiency in the kitchen is about "Chef's Flow." This is the art of overlapping tasks so that no component sits idle for too long. Total preparation time is approximately 20 minutes, with a cook time of 15 minutes.
The flow begins with the marinade. Let the chicken sit in a splash of soy sauce and white pepper for 15 minutes while you chop your bell peppers and onions into uniform one-inch squares using a sharp chef's knife. While the oil preheats in your heavy-bottomed skillet, whisk your sauce ingredients. By the time the oil hits 350 degrees Fahrenheit, your chicken is perfectly seasoned, your vegetables are prepped, and your sauce is ready to be emulsified. This synchronicity prevents the chicken from cooling down before the sauce is thickened, preserving that vital "snap."
The Masterclass
1. The Velvet Marinate
Toss your chicken pieces with soy sauce and a beaten egg. This is not just for flavor; the proteins in the egg whites create a protective film around the meat.
Pro Tip: This technique, known as velveting, uses the egg proteins to shield the chicken from direct heat, preventing the fibers from tightening and becoming tough.
2. The Starch Dredge
Coat each piece of chicken individually in your starch and flour mixture. Shake off the excess to ensure a thin, even layer.
Pro Tip: Using cornstarch creates a gluten-free barrier that absorbs less oil than pure flour. This results in a lighter, crispier shell that resists becoming soggy when the sauce is applied.
3. The First Fry
Carefully drop the chicken into oil heated to 350 degrees Fahrenheit. Use tongs to ensure the pieces do not clump together. Fry until pale gold.
Pro Tip: This initial fry focuses on moisture evaporation. You are setting the structure of the crust without overcooking the interior of the chicken.
4. The Flash Second Fry
Remove the chicken, bring the oil up to 375 degrees Fahrenheit, and fry a second time for 60 seconds until deep golden brown.
Pro Tip: The second fry triggers the Maillard reaction at an accelerated rate. This creates a glass-like exterior that provides the structural integrity needed to withstand the liquid sauce.
5. Searing the Aromatics
In a separate saucier or wok, heat a tablespoon of oil and toss in your peppers, onions, and pineapple. Use a bench scraper to quickly move prepped veggies from the board to the pan.
Pro Tip: High-heat searing causes enzymatic browning in the vegetables, releasing natural sugars that harmonize with the sweet and sour base.
6. The Sauce Emulsification
Pour your premixed sauce into the pan with the vegetables. Stir constantly with a whisk until the liquid changes from opaque to translucent.
Pro Tip: This change in clarity indicates that the starch granules have gelatinized, creating a stable, viscous coating that will cling to the chicken rather than pooling at the bottom.
7. The Final Toss
Add the fried chicken back into the pan. Use a tossing motion to coat every piece in the glaze quickly.
Pro Tip: Speed is essential here to prevent thermal carryover from overcooking the chicken. You want the sauce to "marry" the crust without penetrating it.
8. The Garnish
Finish with a sprinkle of toasted sesame seeds and sliced scallions.
Pro Tip: The residual heat will volatilize the oils in the sesame seeds, providing a final aromatic punch as the dish hits the table.
The Deep Dive
Macro Nutrition: One serving of this homemade version contains approximately 450 calories, 28g of protein, 45g of carbohydrates, and 18g of fat. By controlling the oil and sugar at home, you reduce the caloric density by nearly 30 percent compared to takeout.
Dietary Swaps: For a Vegan version, swap the chicken for extra-firm tofu that has been pressed and frozen (this creates a "meaty" texture). Use a flax-egg for the dredge. For Keto enthusiasts, replace the sugar with erythritol and use xanthan gum as a thickener instead of cornstarch. For Gluten-Free, simply use a gluten-free all-purpose flour blend or 100 percent cornstarch for the coating.
The Fix-It:
- Soggy Crust: Your oil temperature was likely too low. Use a digital thermometer to ensure you hit 350 degrees before the first fry.
- Clumpy Sauce: You added the starch slurry too quickly. Whisk the sauce ingredients thoroughly before adding them to the heat to ensure even distribution.
- Bland Flavor: You might have skipped the white pepper. This spice provides a subtle, floral heat that is foundational to chinese chicken recipes sweet and sour.
Meal Prep: To maintain "day-one" quality, store the chicken and sauce separately. When reheating, use an air fryer at 375 degrees for 4 minutes to re-crisp the chicken, then toss it in the sauce warmed in a small saucier.
The Wrap-Up
Mastering chinese chicken recipes sweet and sour is a rite of passage for any home cook. It is a lesson in textures, temperatures, and the beautiful chemistry of balance. By using the double-fry method and understanding the gelatinization of your sauce, you have created a dish that is objectively superior to anything that comes in a cardboard box. Now, serve it over a bed of fluffy jasmine rice, take a photo of that glossy finish, and enjoy the literal fruits of your labor.
The Kitchen Table
Can I bake the chicken instead of frying?
Yes, but you will lose the signature snap. To bake, toss the coated chicken in a bit of oil and bake at 425 degrees Fahrenheit for 20 minutes, turning halfway through to ensure even browning.
How do I make the sauce that bright red color?
While restaurants use red dye, you can achieve a natural, deep ruby hue by using high-quality tomato paste and a splash of pomegranate juice or beet powder. This adds color without altering the flavor profile significantly.
Why is my sauce too thick?
If the sauce becomes a paste, it has over-reduced. Simply whisk in a tablespoon of water or pineapple juice at a time until the desired viscous consistency is restored. The starch will re-hydrate and smoothen out quickly.
Can I use frozen pineapple?
Absolutely. Just ensure you thaw and pat the pineapple dry before adding it to the pan. Excess moisture from frozen fruit can steam the vegetables and chicken, ruining the crispy texture you worked so hard to achieve.